Guides · 8 min read
How to Set Up Your School on Agenda1 in Minutes
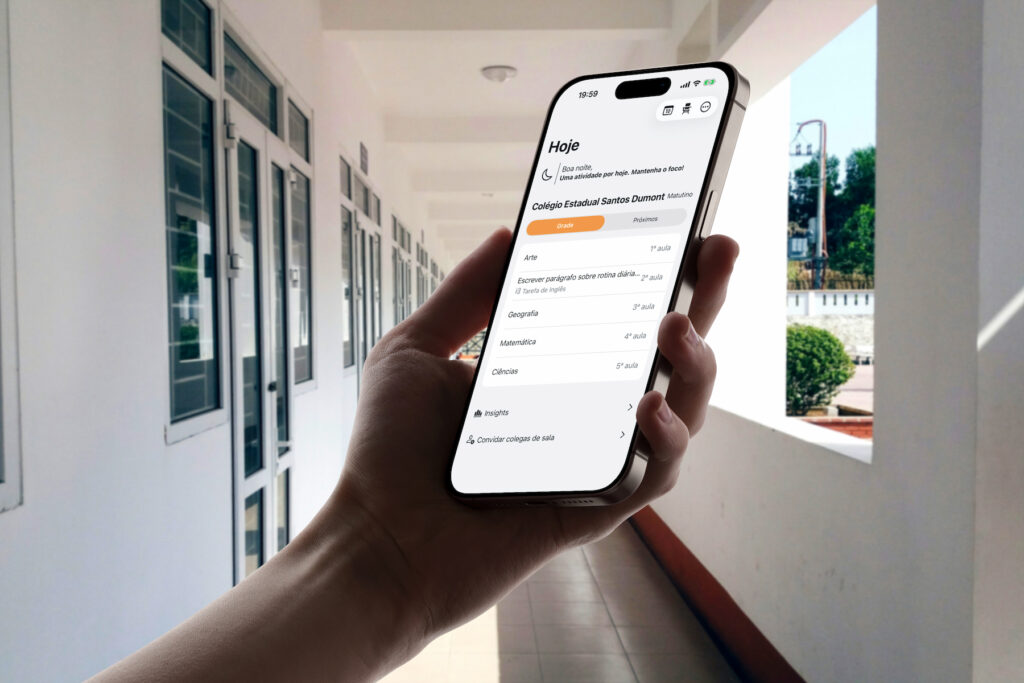
You’ve decided your school needs a digital system for booking rooms, labs, and equipment. But just the phrase “set up a new system” can feel like a lot. Forms, fields, integrations, staff training.
The good news: setting up your school on Agenda1 takes just a few minutes. Create the school, follow a 7-step checklist, and you’re done — your teachers can start booking right away.
Here’s the full walkthrough.
What you need before you start
- A phone with Agenda1 installed (iOS, Android, or the webapp)
- Your school’s name
- A list of the spaces and equipment that need booking (labs, projectors, auditorium, etc.)
- Your school’s bell schedule (shifts and number of class periods per shift)
Nothing needs to be perfect right now. You can edit any setting at any time.
Step 1: Create your school
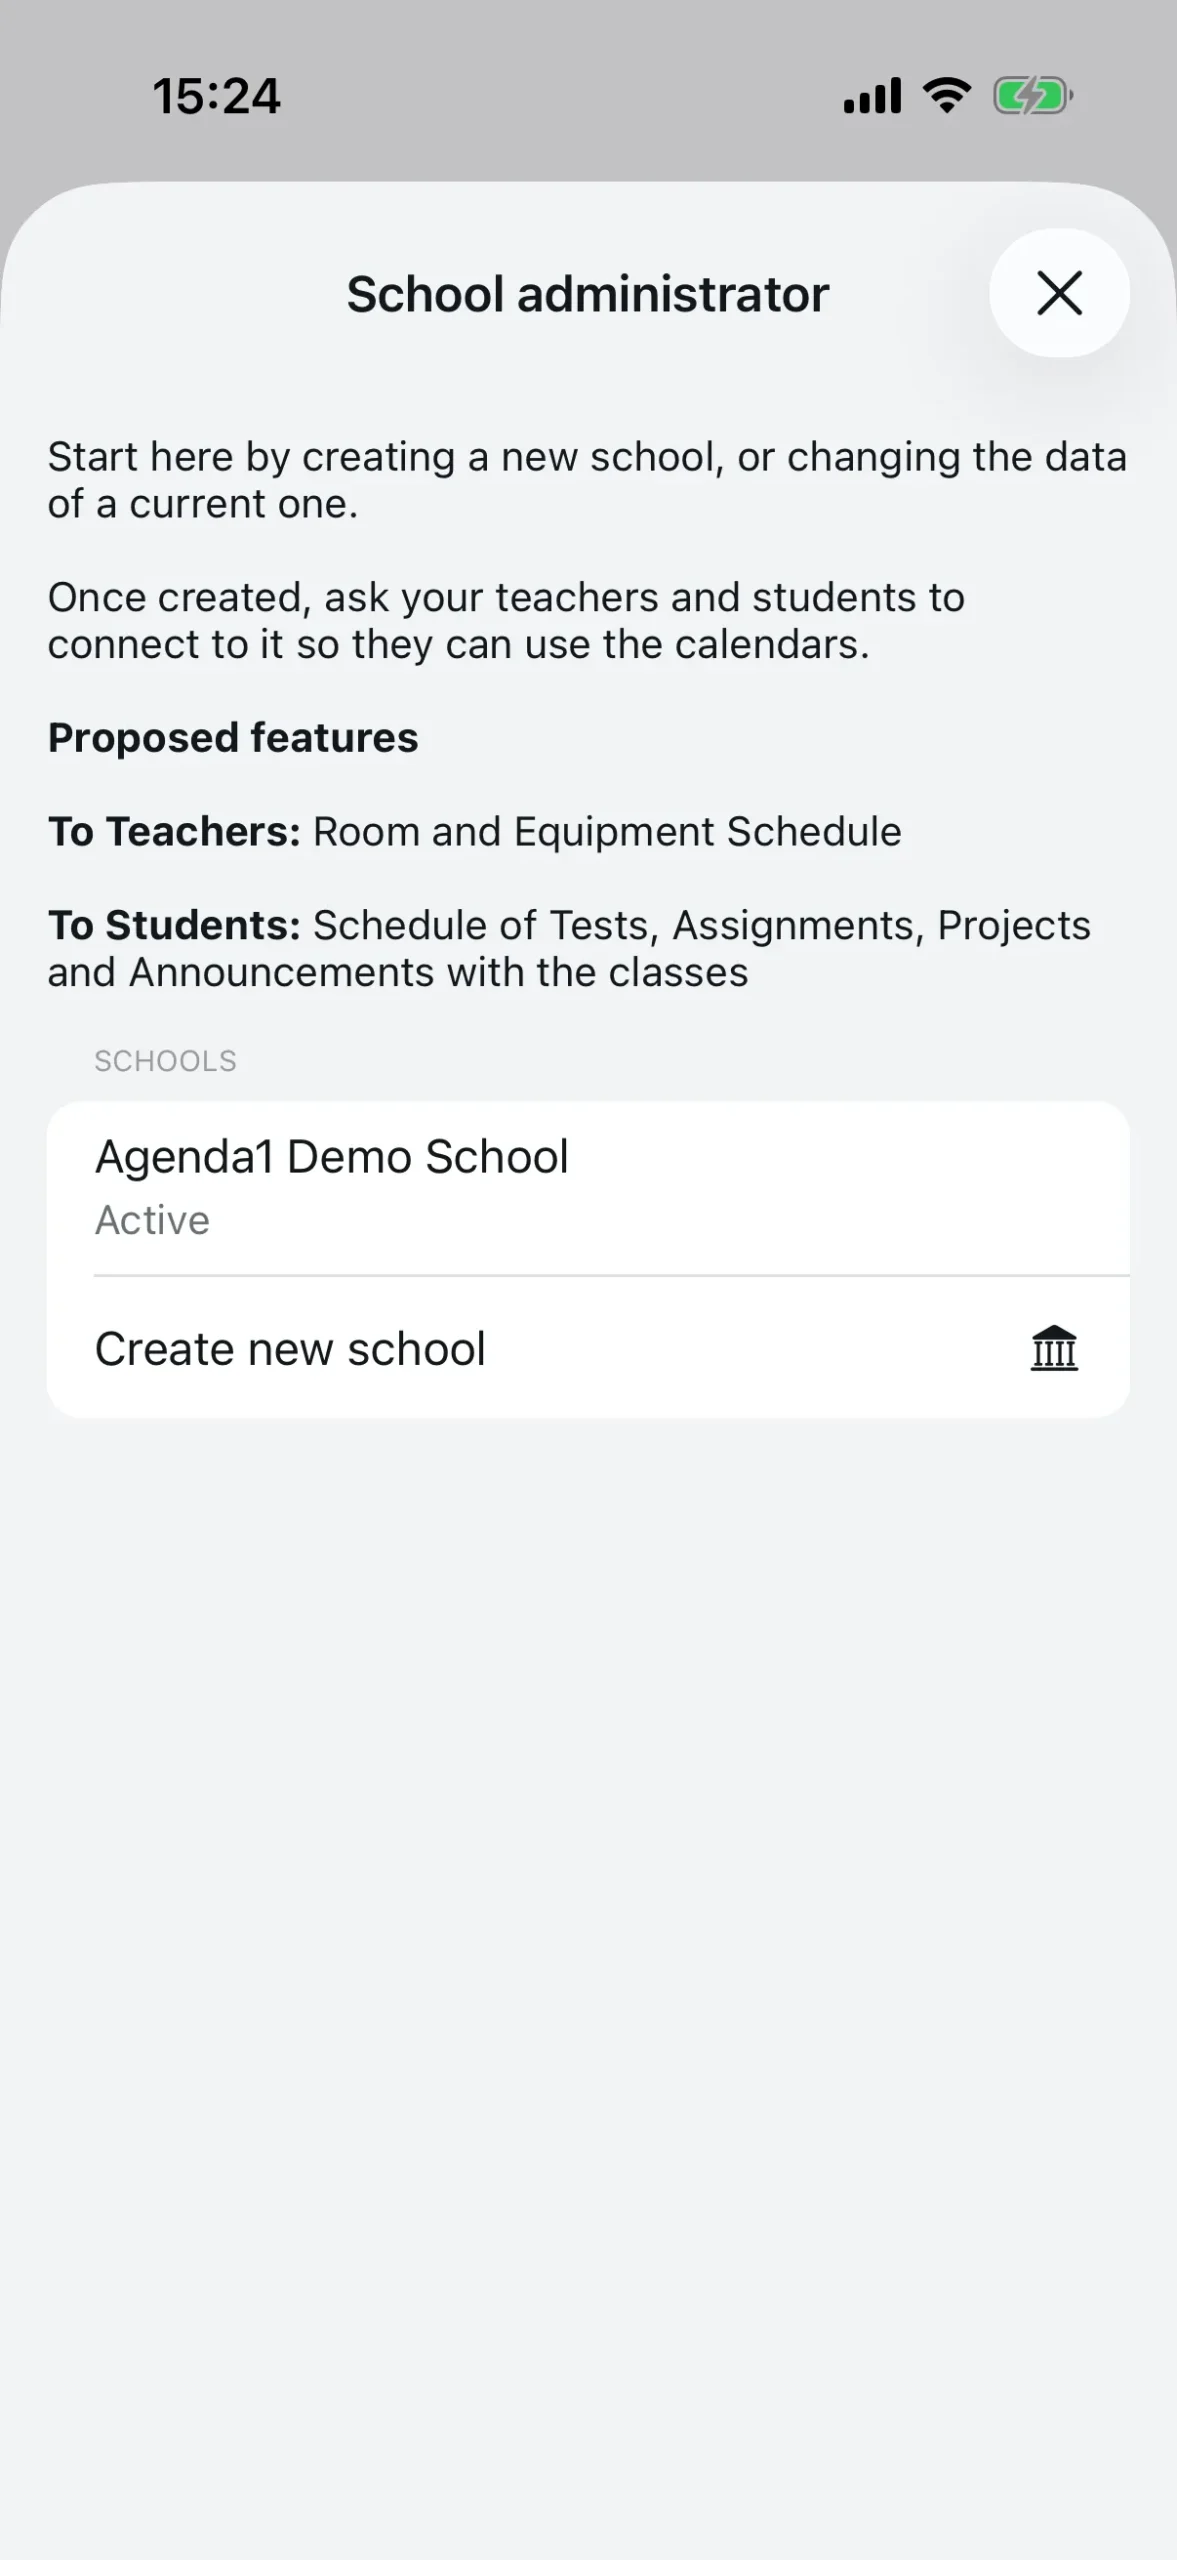
Open Agenda1, select the “School administrator” profile, and tap “Manage schools”. On the next screen, tap “Create new school”.
You’ll fill in two fields:
- School name — the name teachers and students will see
- School ID — a short code (at least 4 characters) that acts as an invite. Teachers and students use this code to connect to your school
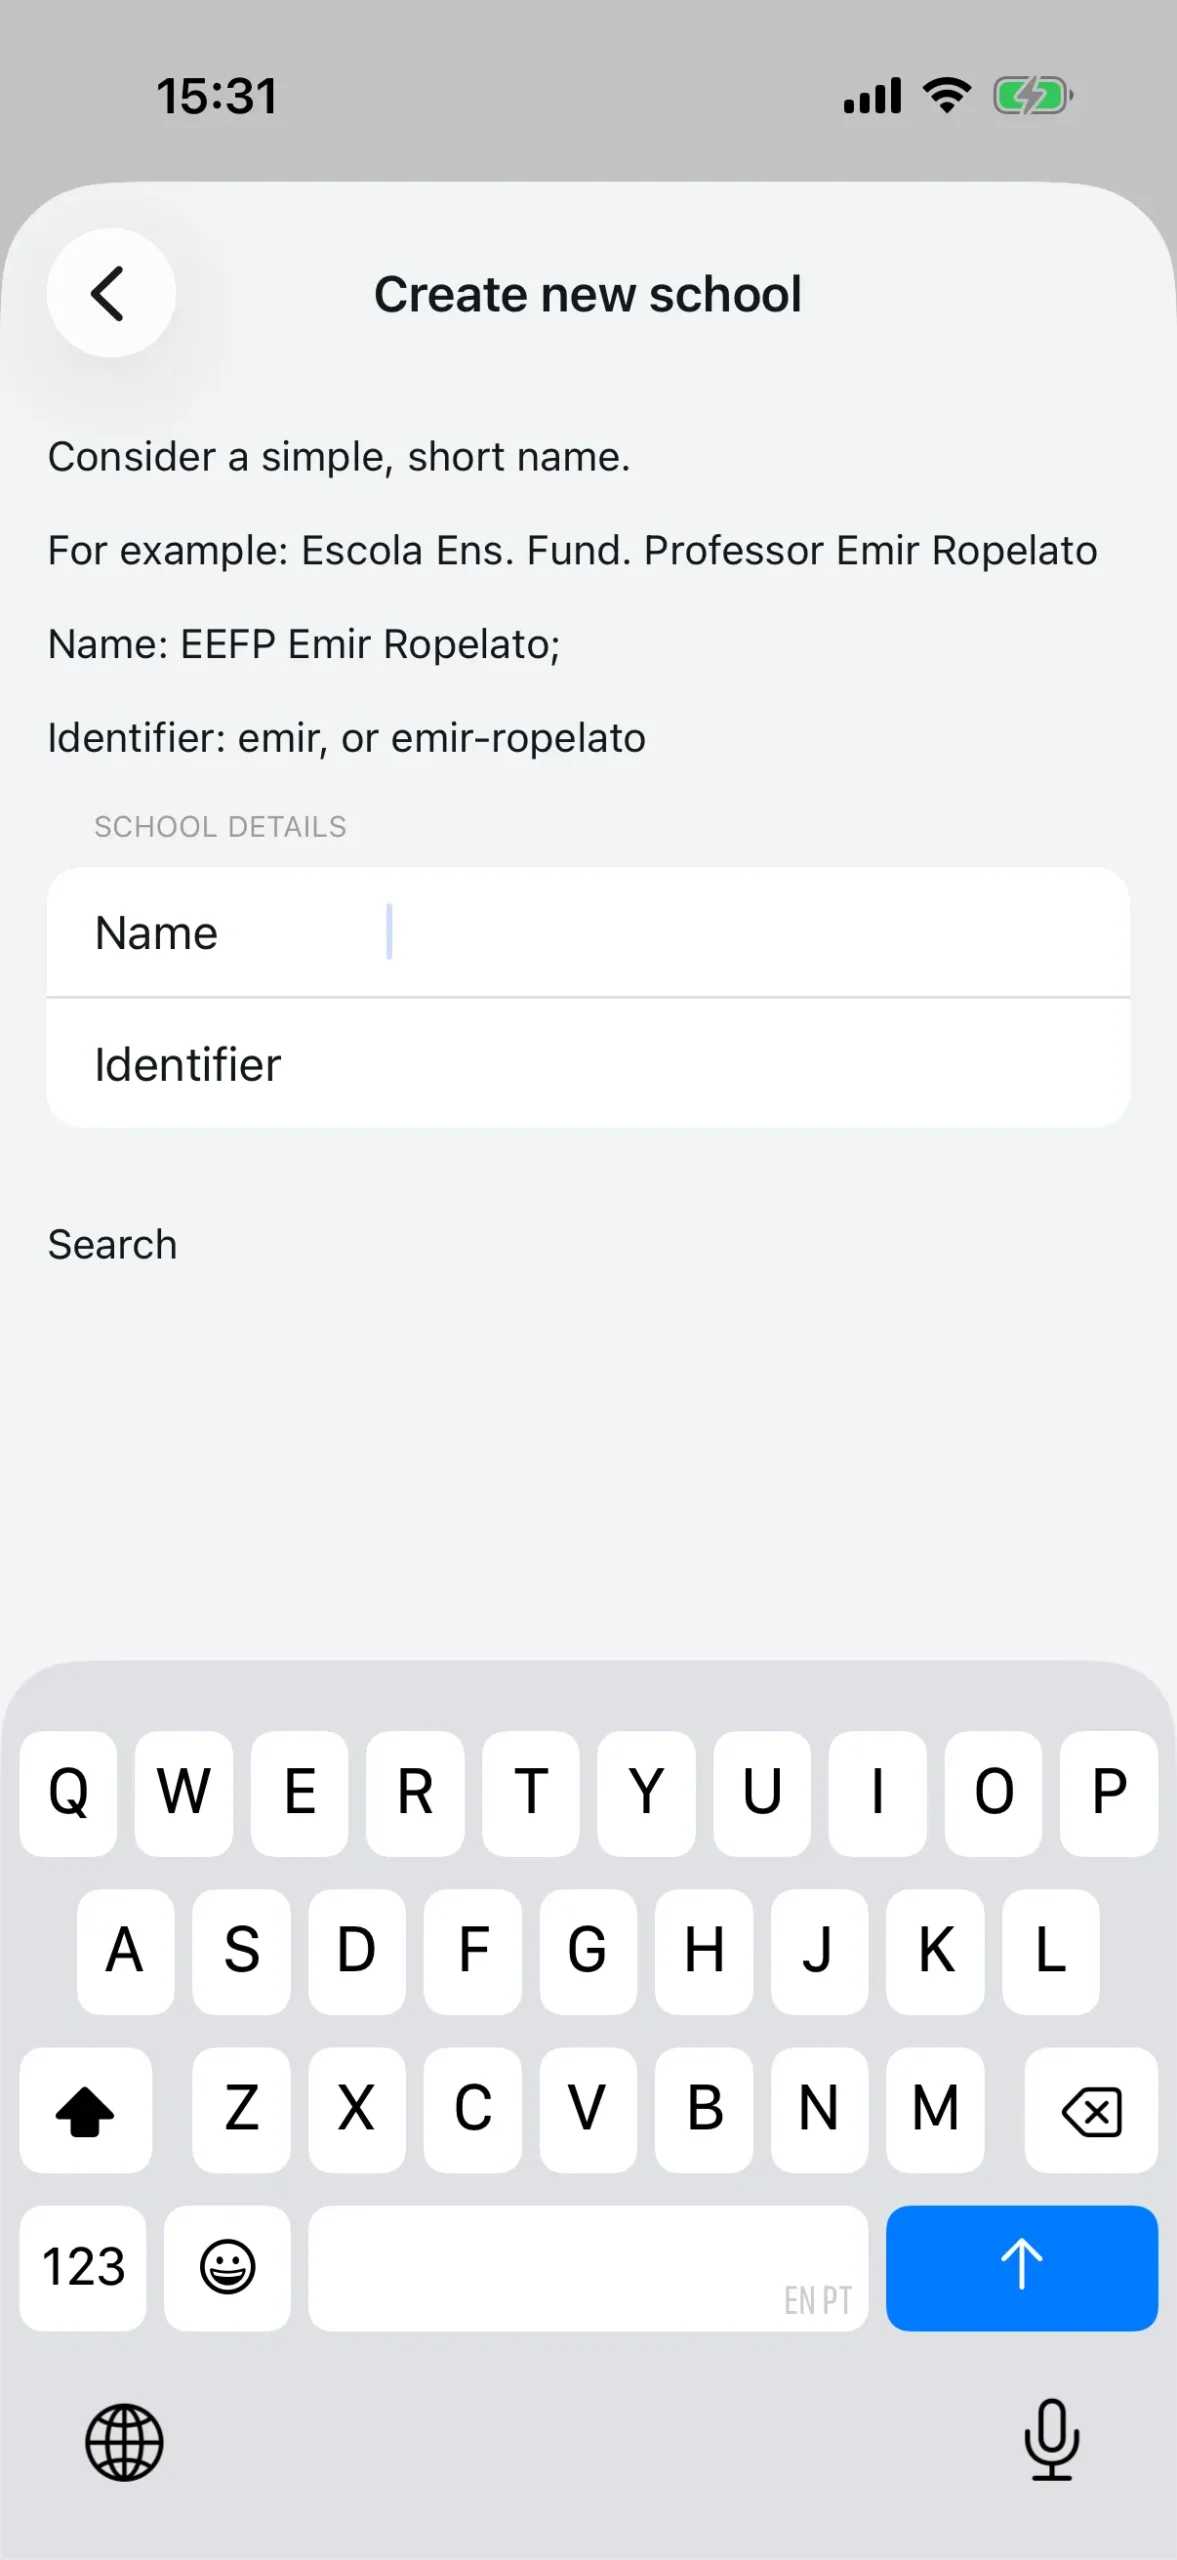
Pick an ID that’s easy to remember. If your school is “Lincoln High School”, something like lincolnhs or LHS2024 works well. Fill in both fields and tap “Search” to check if the ID is available. If it is, tap “Create school”.
Your school now exists on Agenda1. You’ll be taken straight to the administrator dashboard.
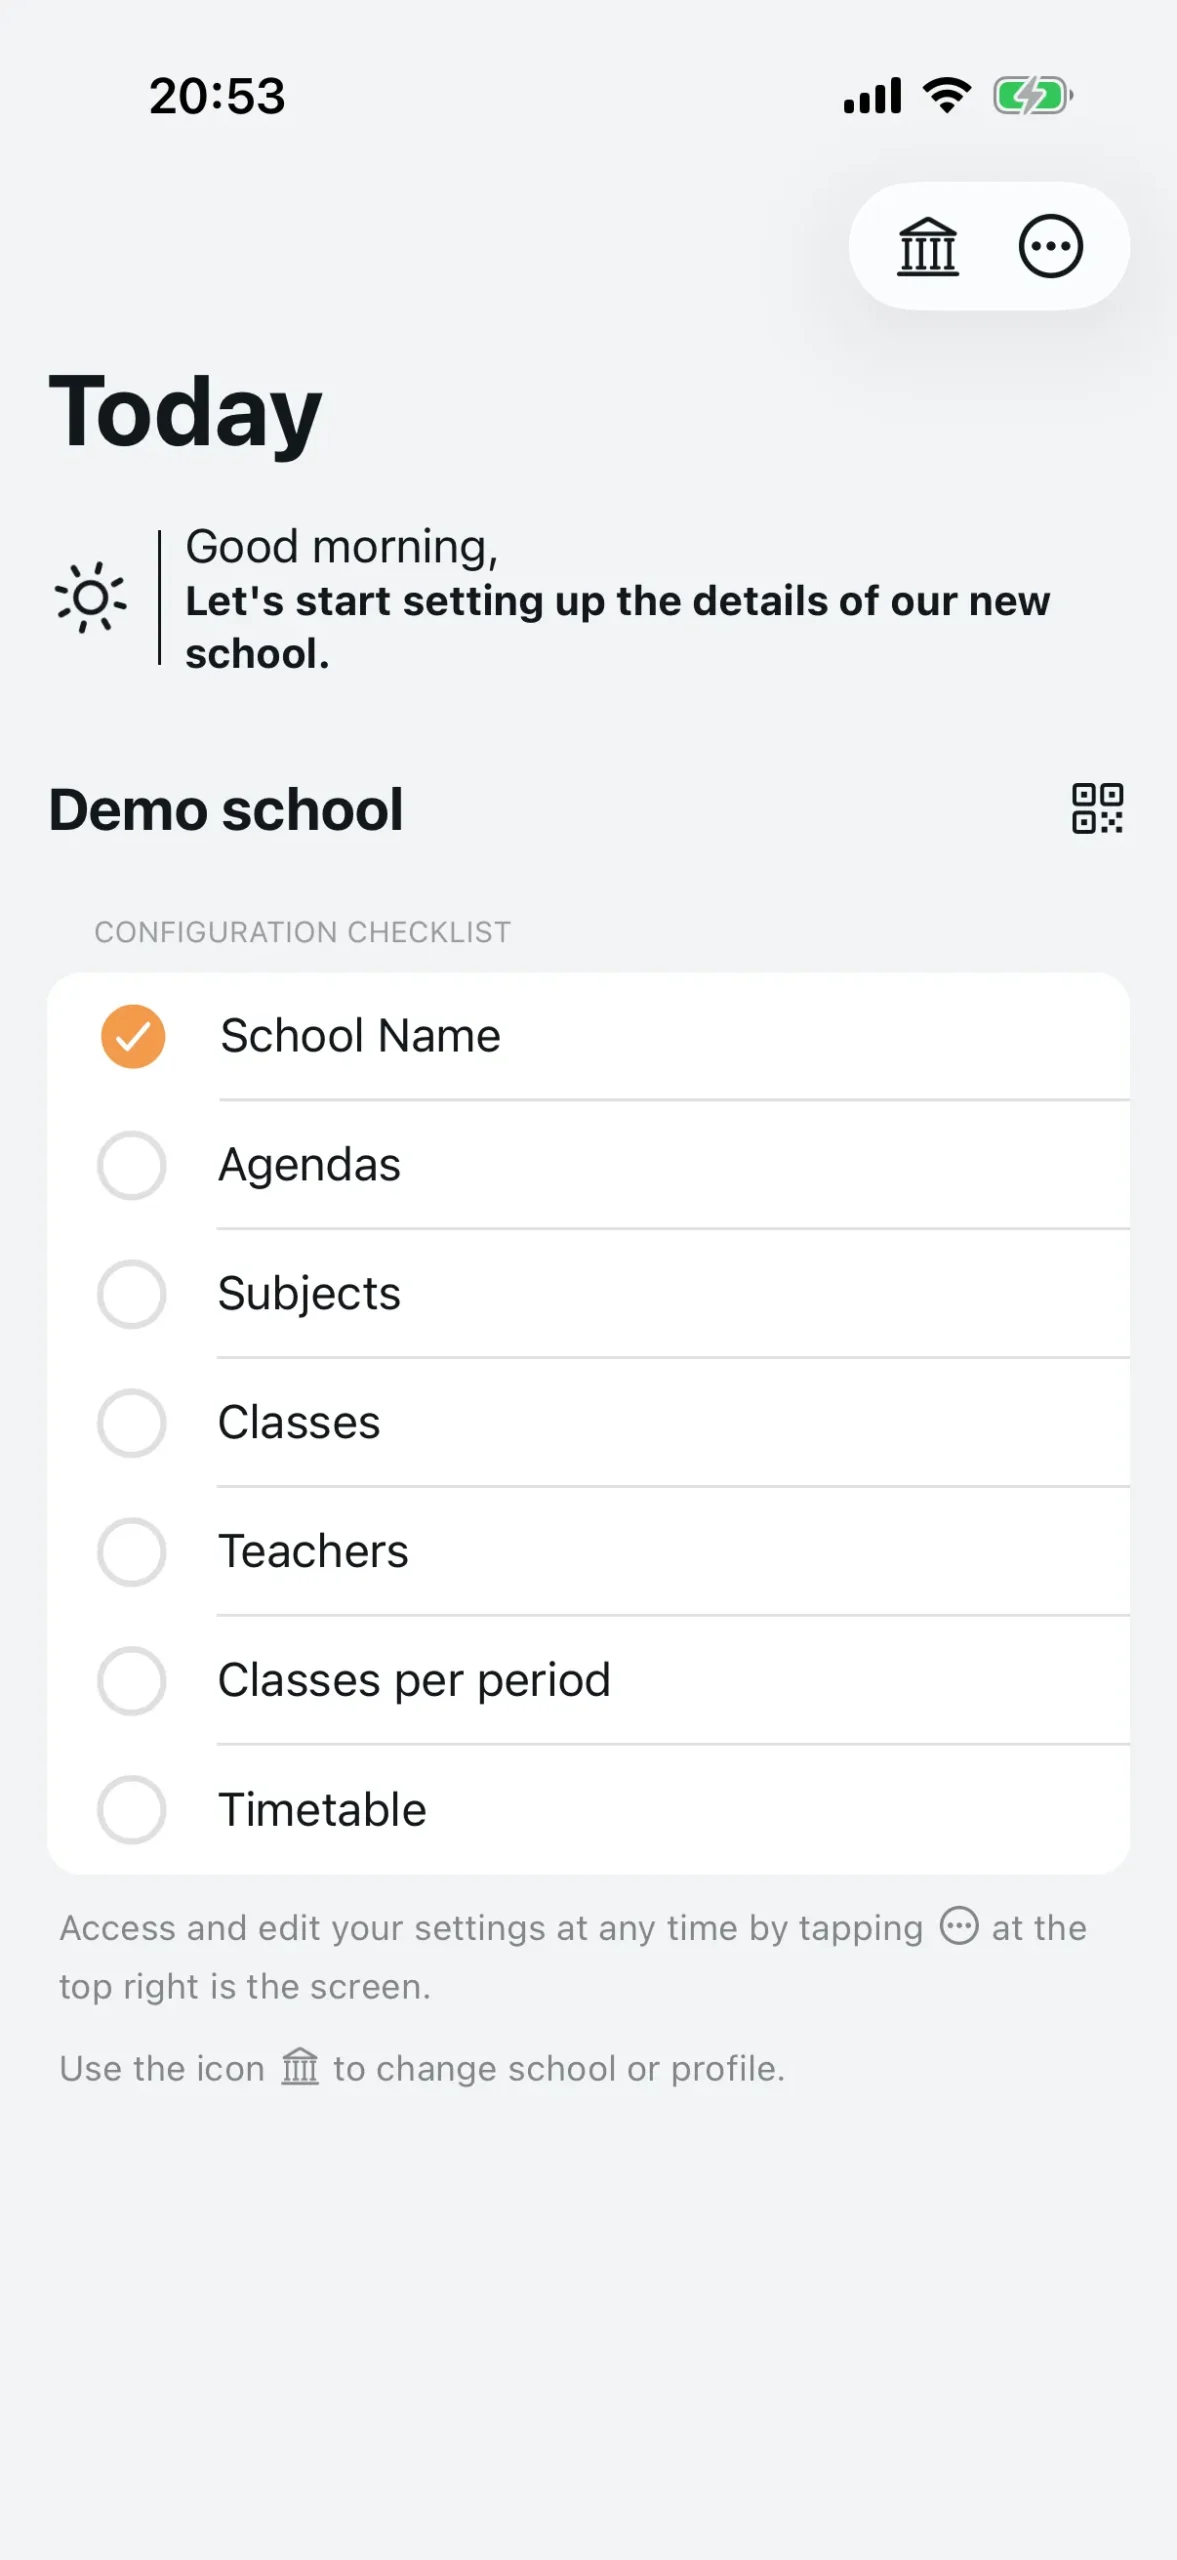
Step 2: The setup checklist
The first time you open the dashboard, you’ll see a configuration checklist with 7 items. Each item represents one step of the setup. As you complete each one, it gets a green checkmark. The 7 items are:
- School Name
- Agendas
- Subjects
- Classes
- Teachers
- Classes per period
- Timetable
Once all items are checked off, the checklist disappears and gives way to the full dashboard — today’s bookings, the agenda carousel, and usage statistics.
You can complete the items in any order. The sequence below is just the most practical.
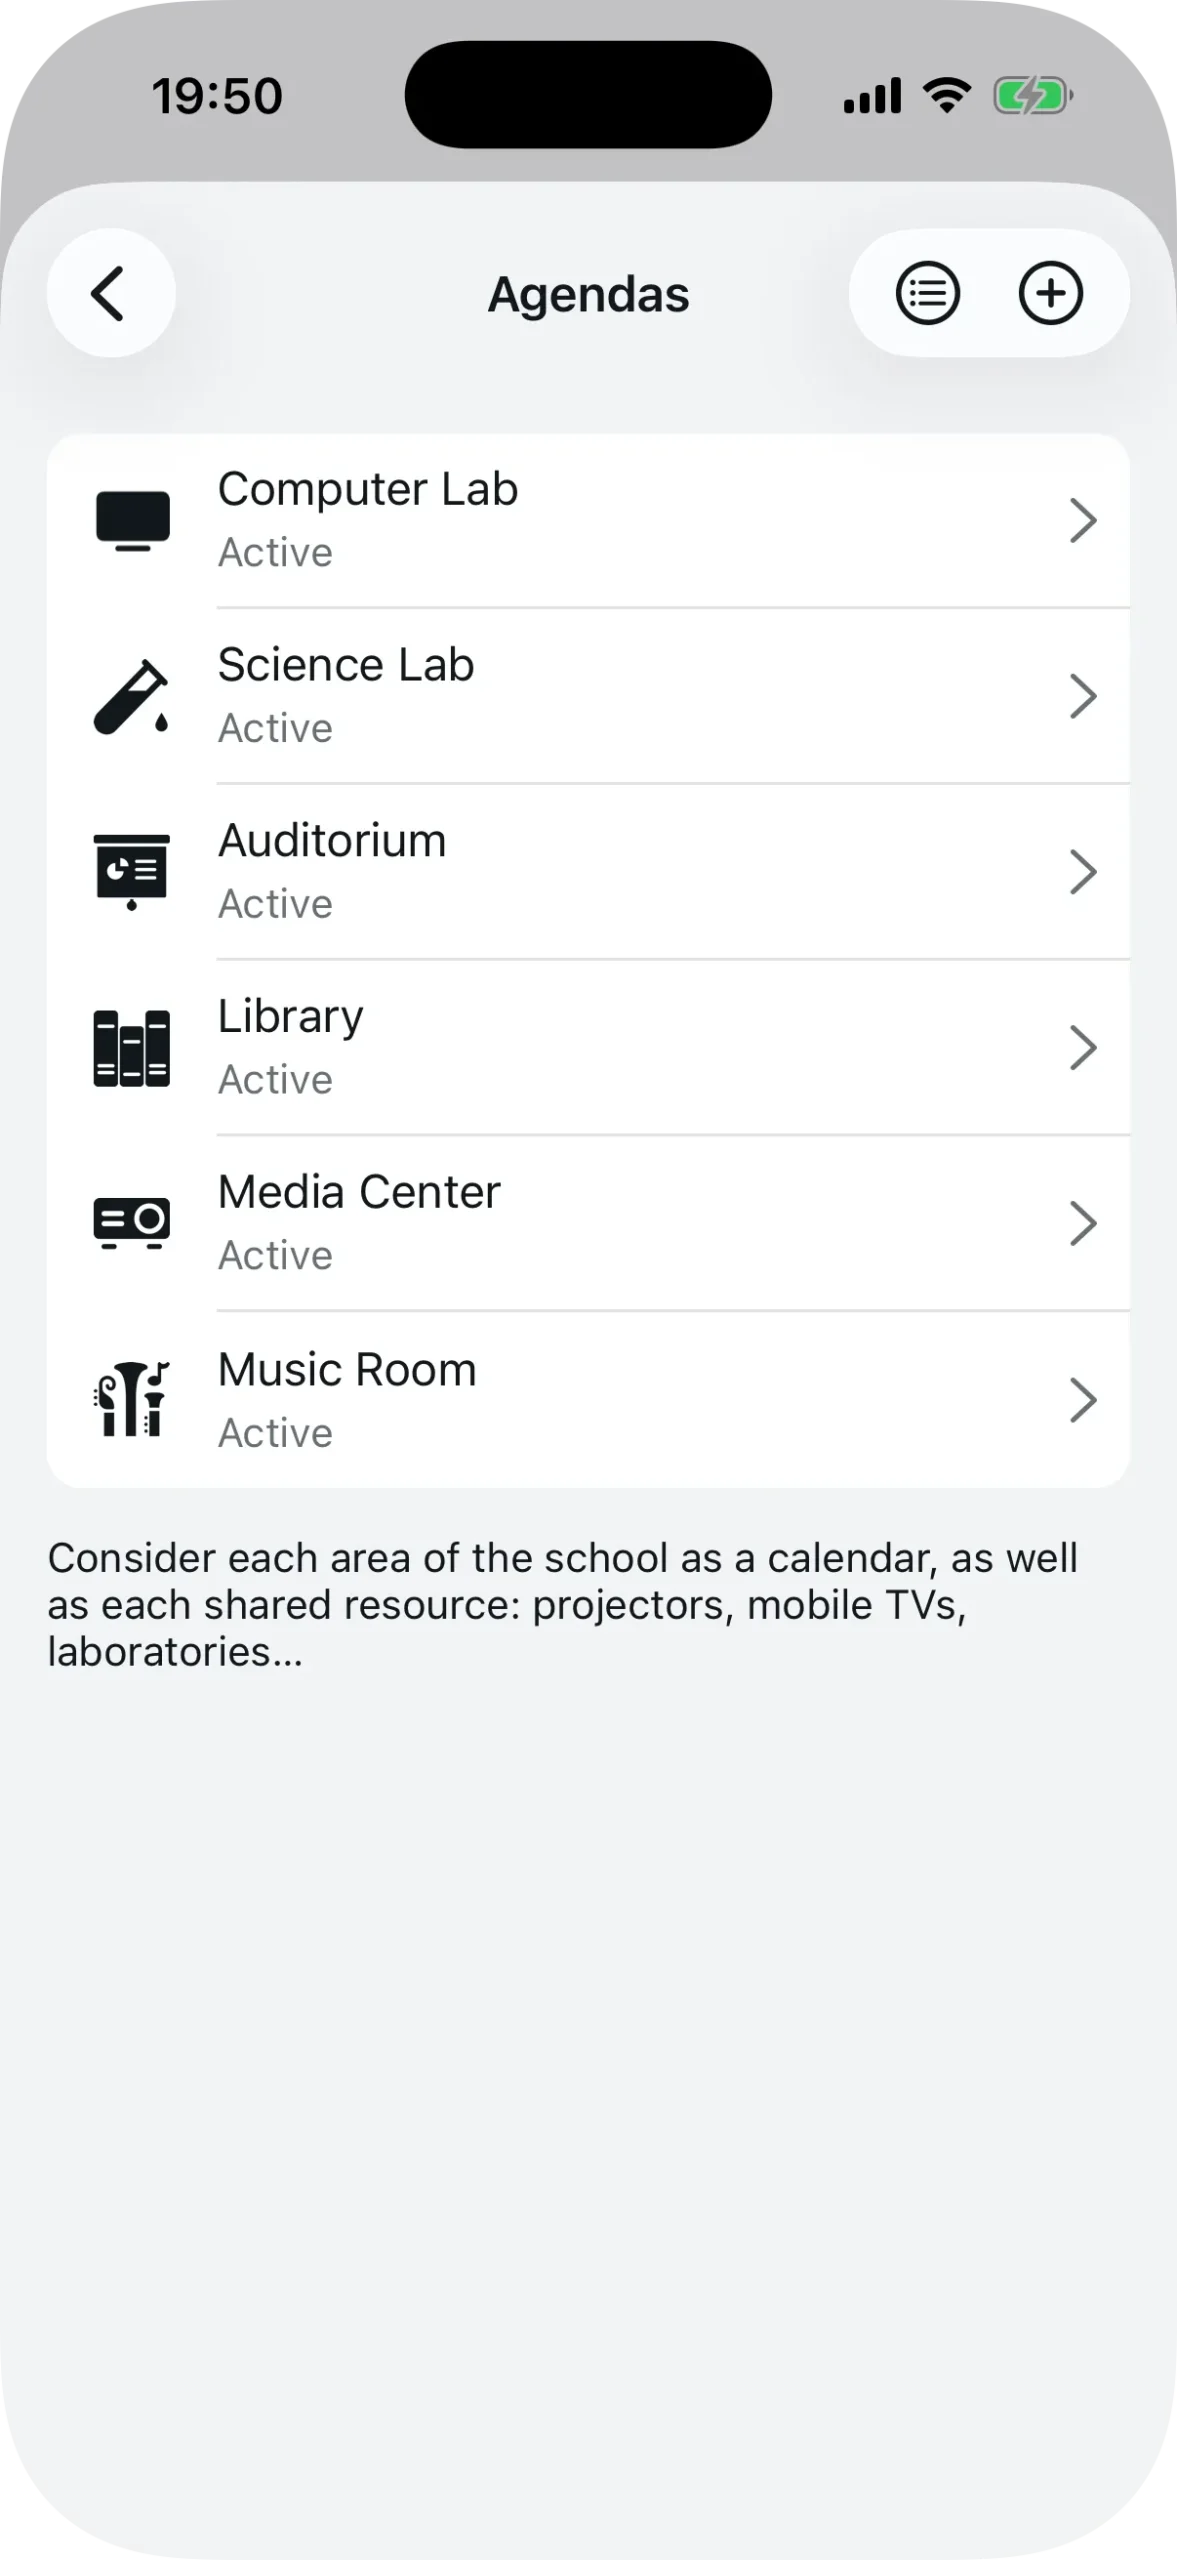
Step 3: Create your agendas
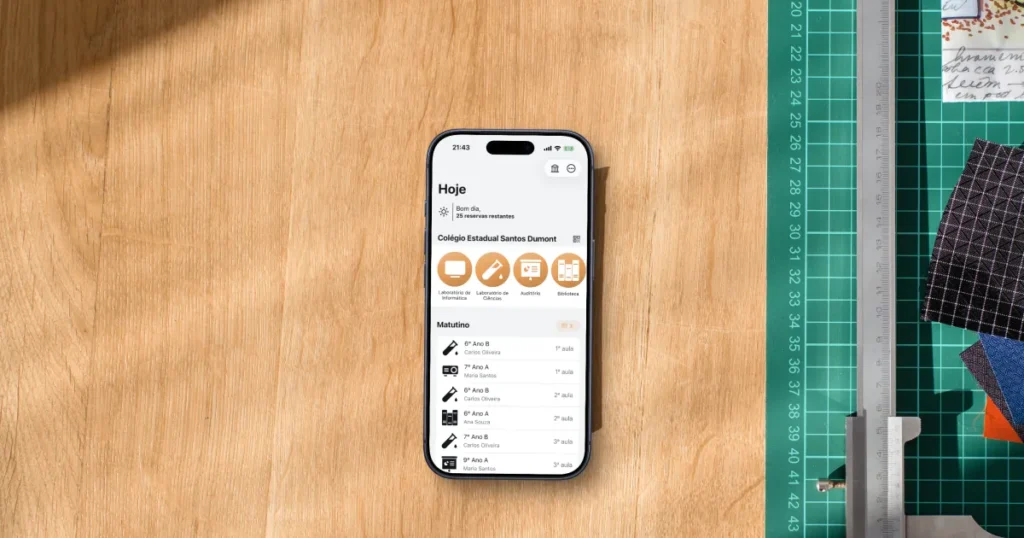
Agendas are the spaces or equipment that need to be booked. Every shared room, lab, projector, or equipment kit becomes an agenda.
Tap “Agendas” in the checklist (or go through the settings menu in the top right corner). Then tap the “+” button to create a new one.
For each agenda, you define:
- Title — e.g., “Science Lab”, “Projector 1”, “Conference Room”
- Icon — choose from dozens of icons for quick visual identification
After creating it, you can edit the agenda to add extras like a notice that appears every time someone books (useful for reminding teachers of usage rules), a custom field (such as “Number of students” or “Required materials”), and an active/inactive status.

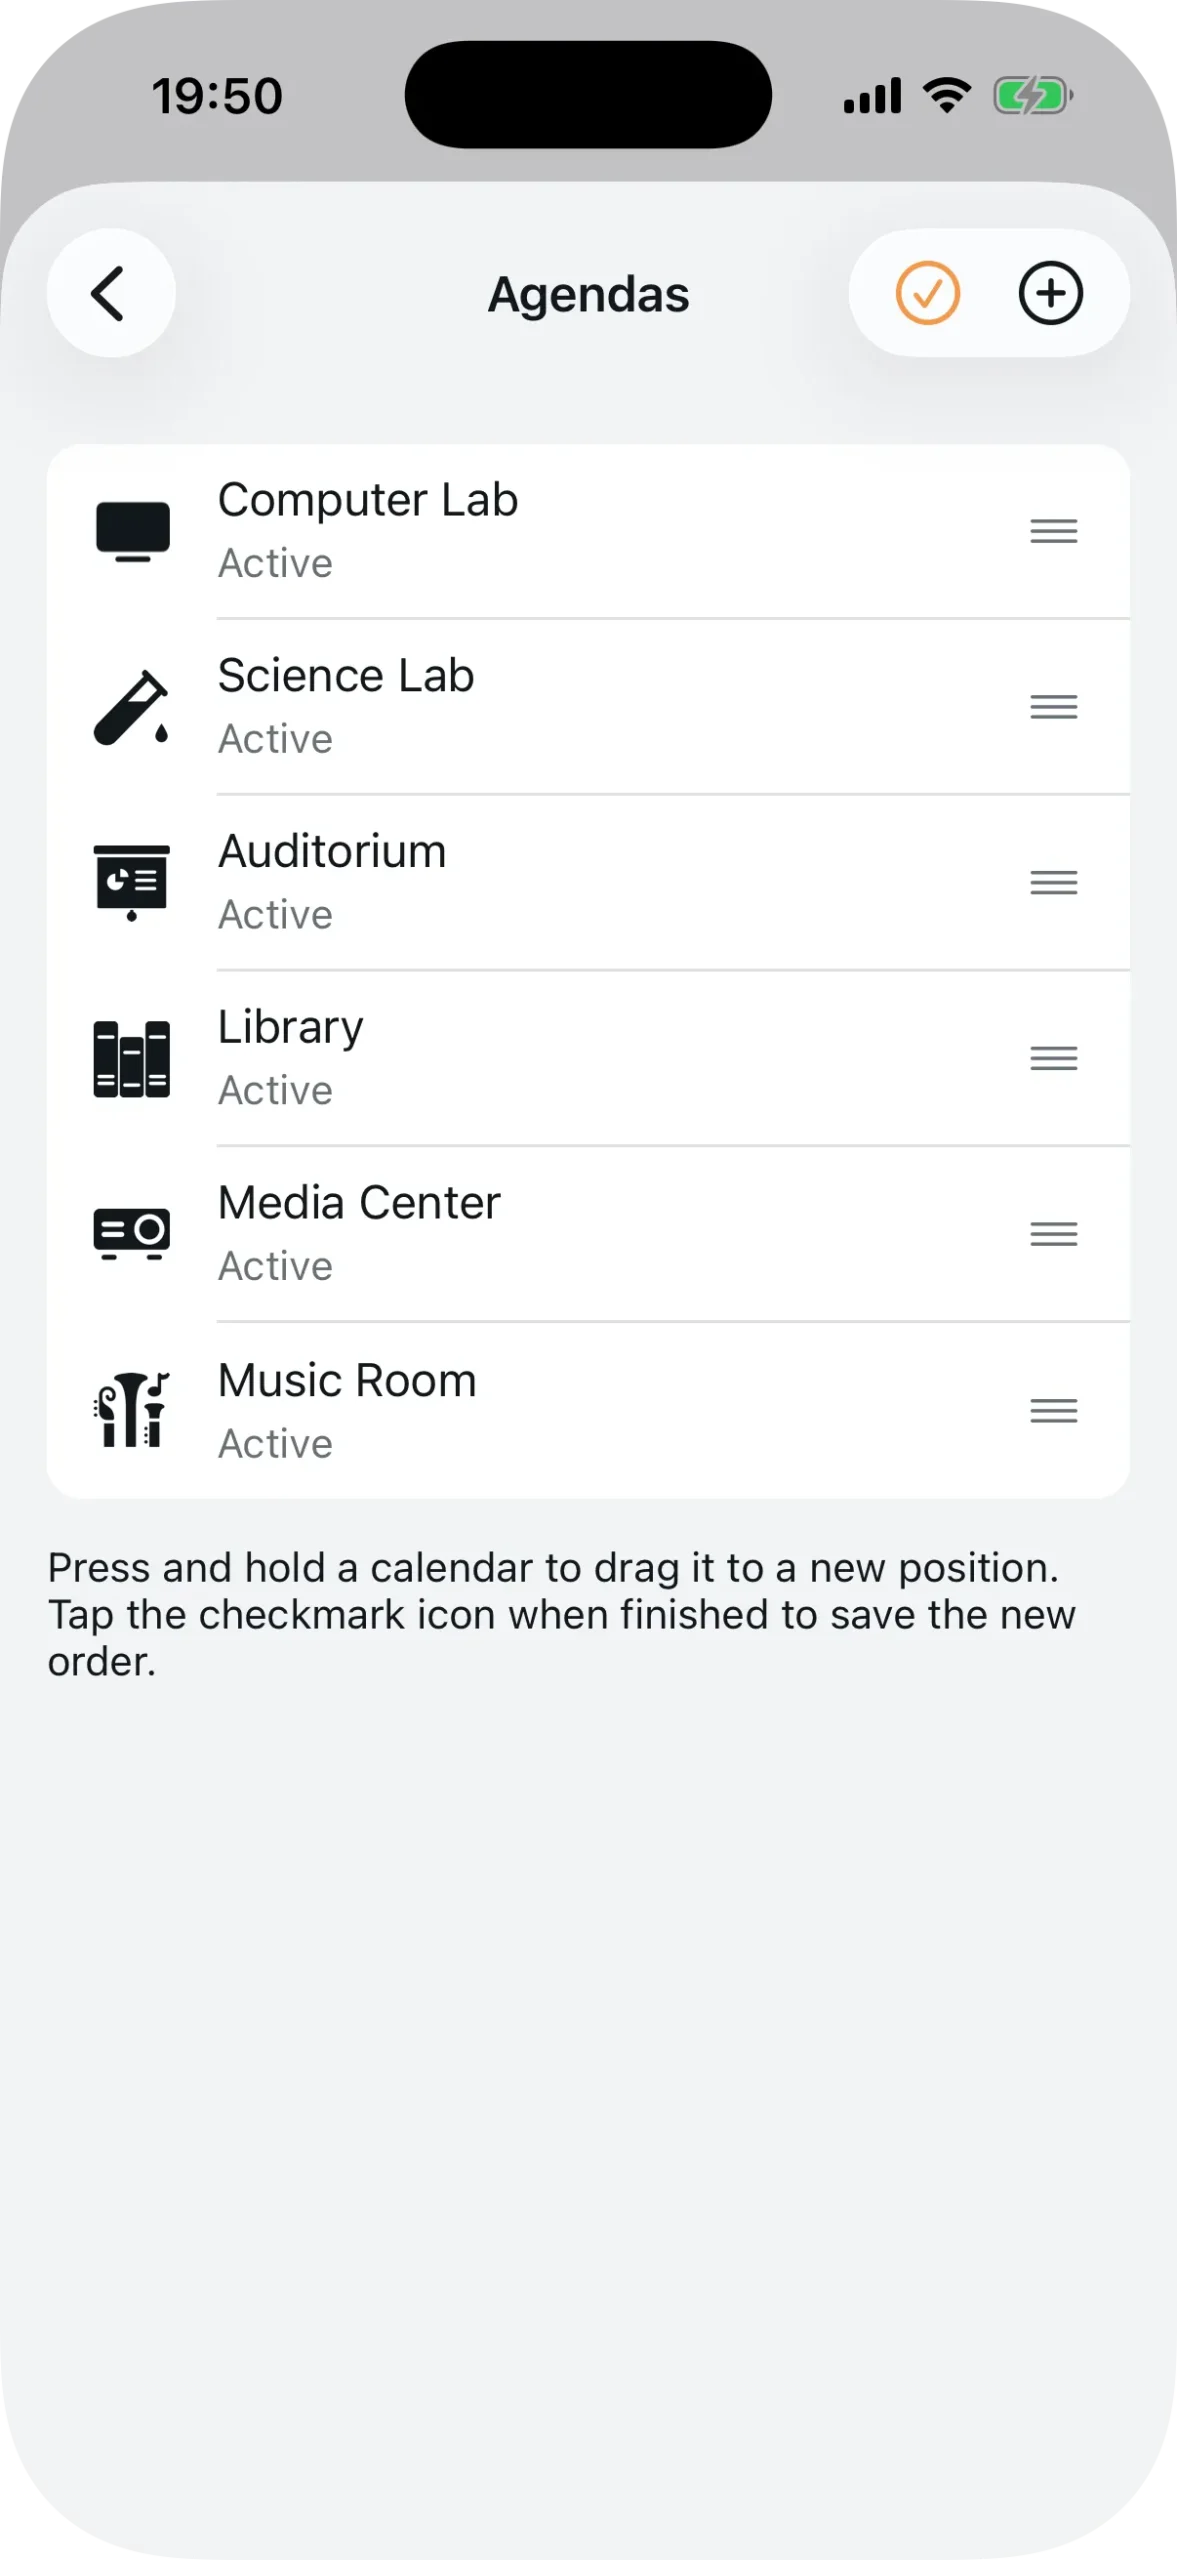
Create as many agendas as you need. You can reorder the list later by holding and dragging.
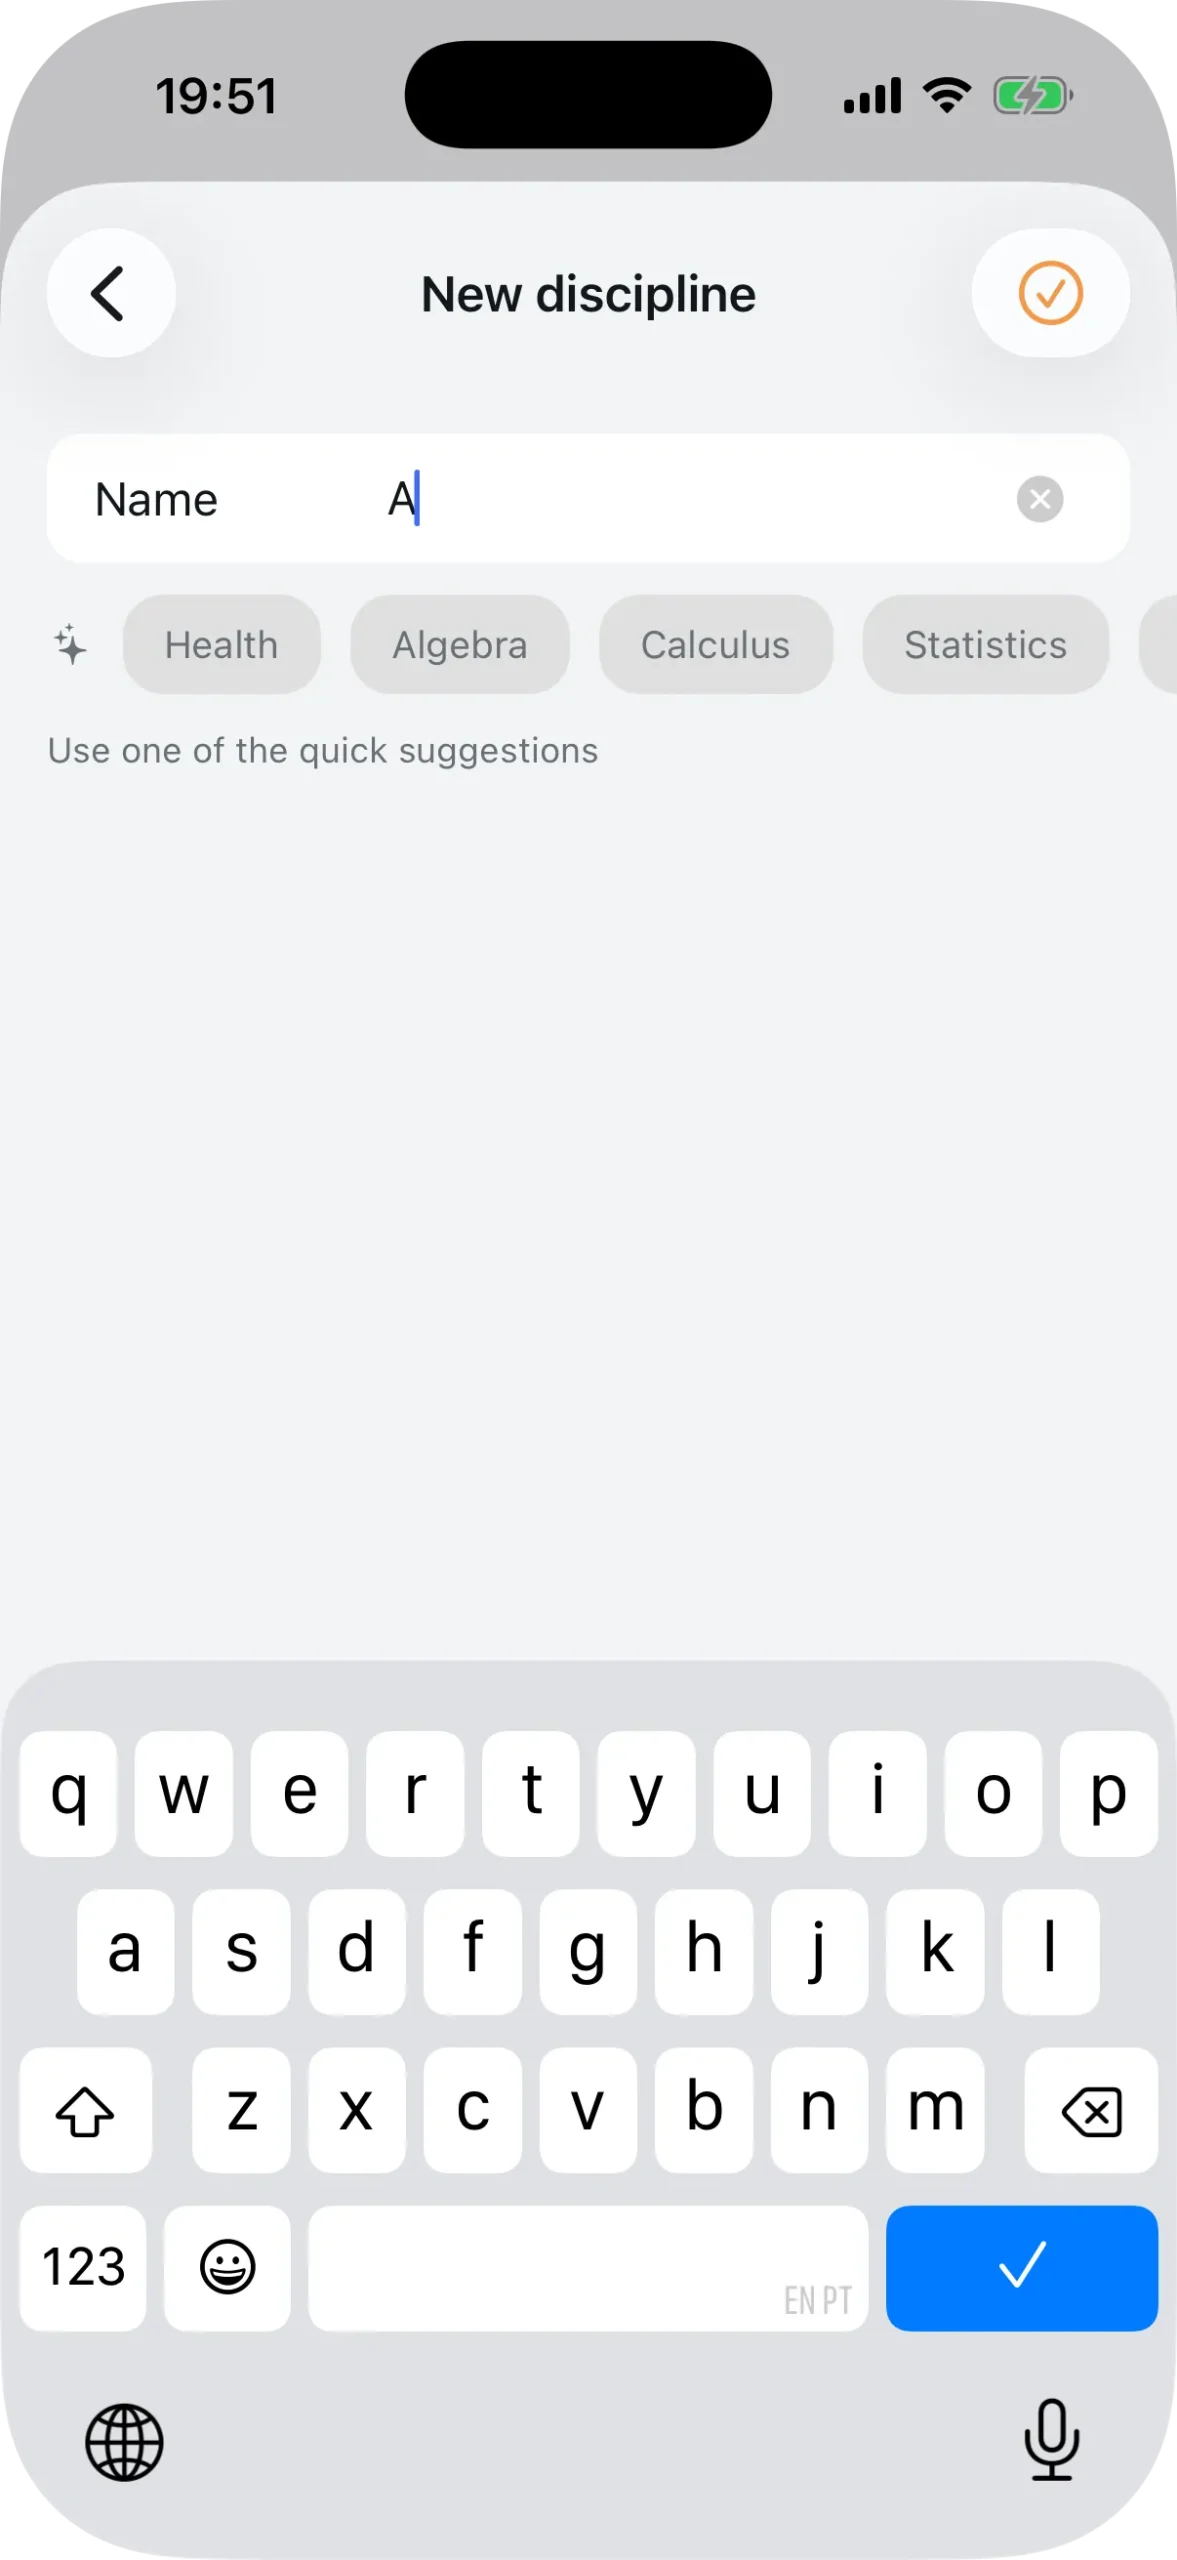
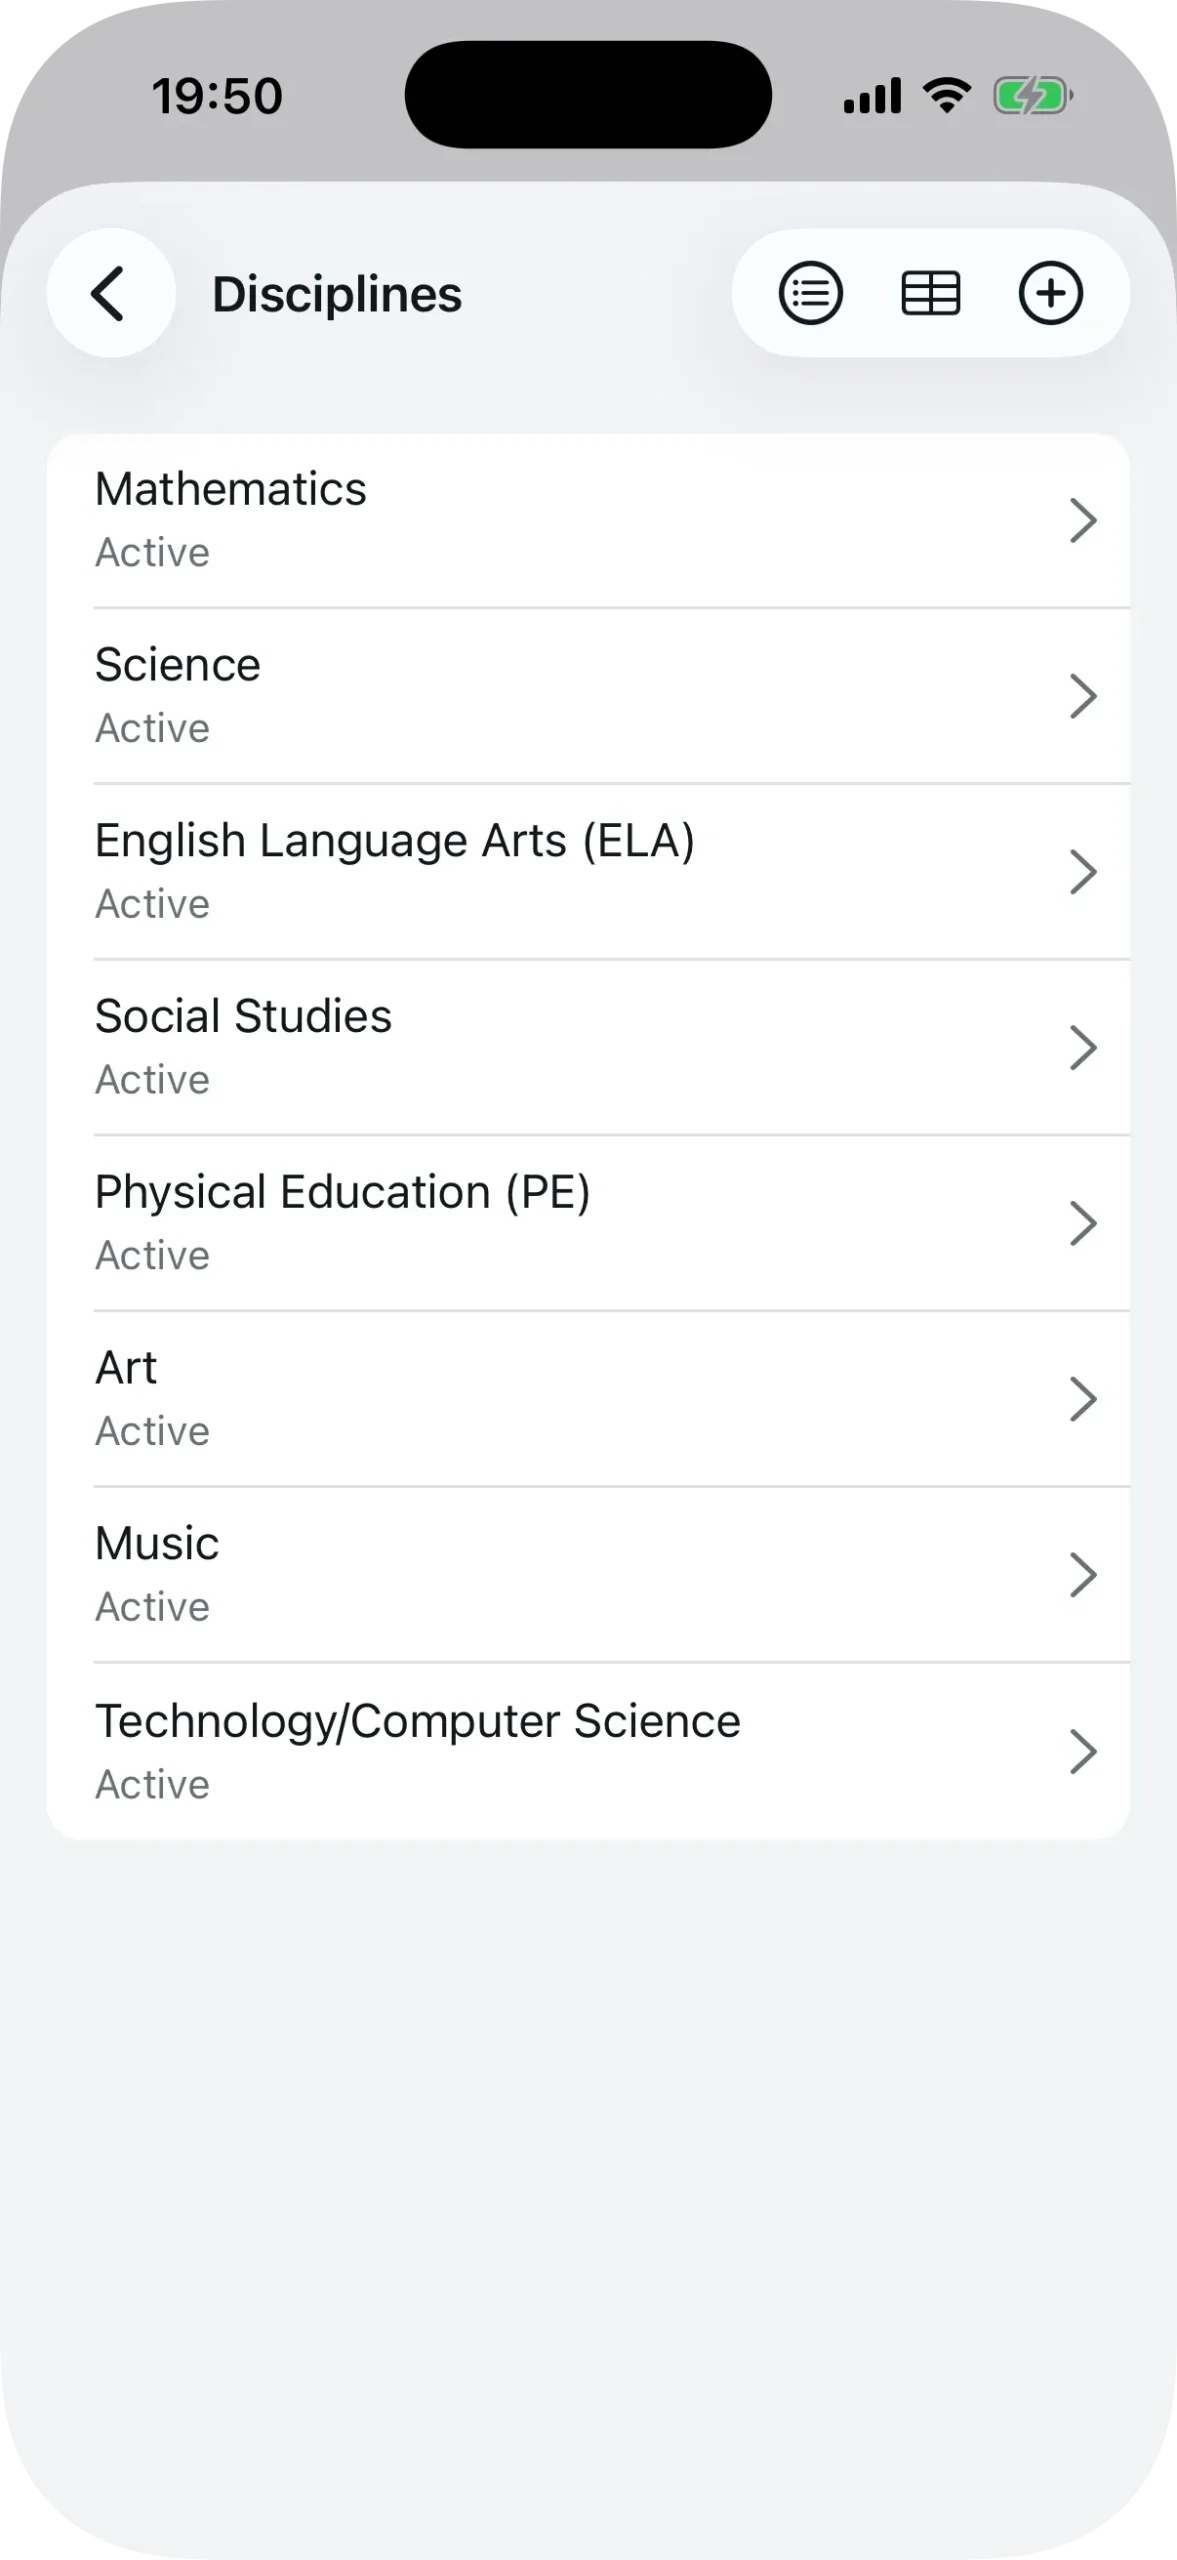
Step 4: Add subjects
Subjects are the courses teachers select when making a booking. When a teacher reserves the lab, they indicate which subject will be using that space.
Tap “Subjects” and then “+”. As you type the name, Agenda1 suggests subjects from a global library — if yours is already there, just select it. If not, create a new one.
If your school has many subjects, you can import them all at once using a CSV file. Tap the table icon in the top right corner to access the import option.

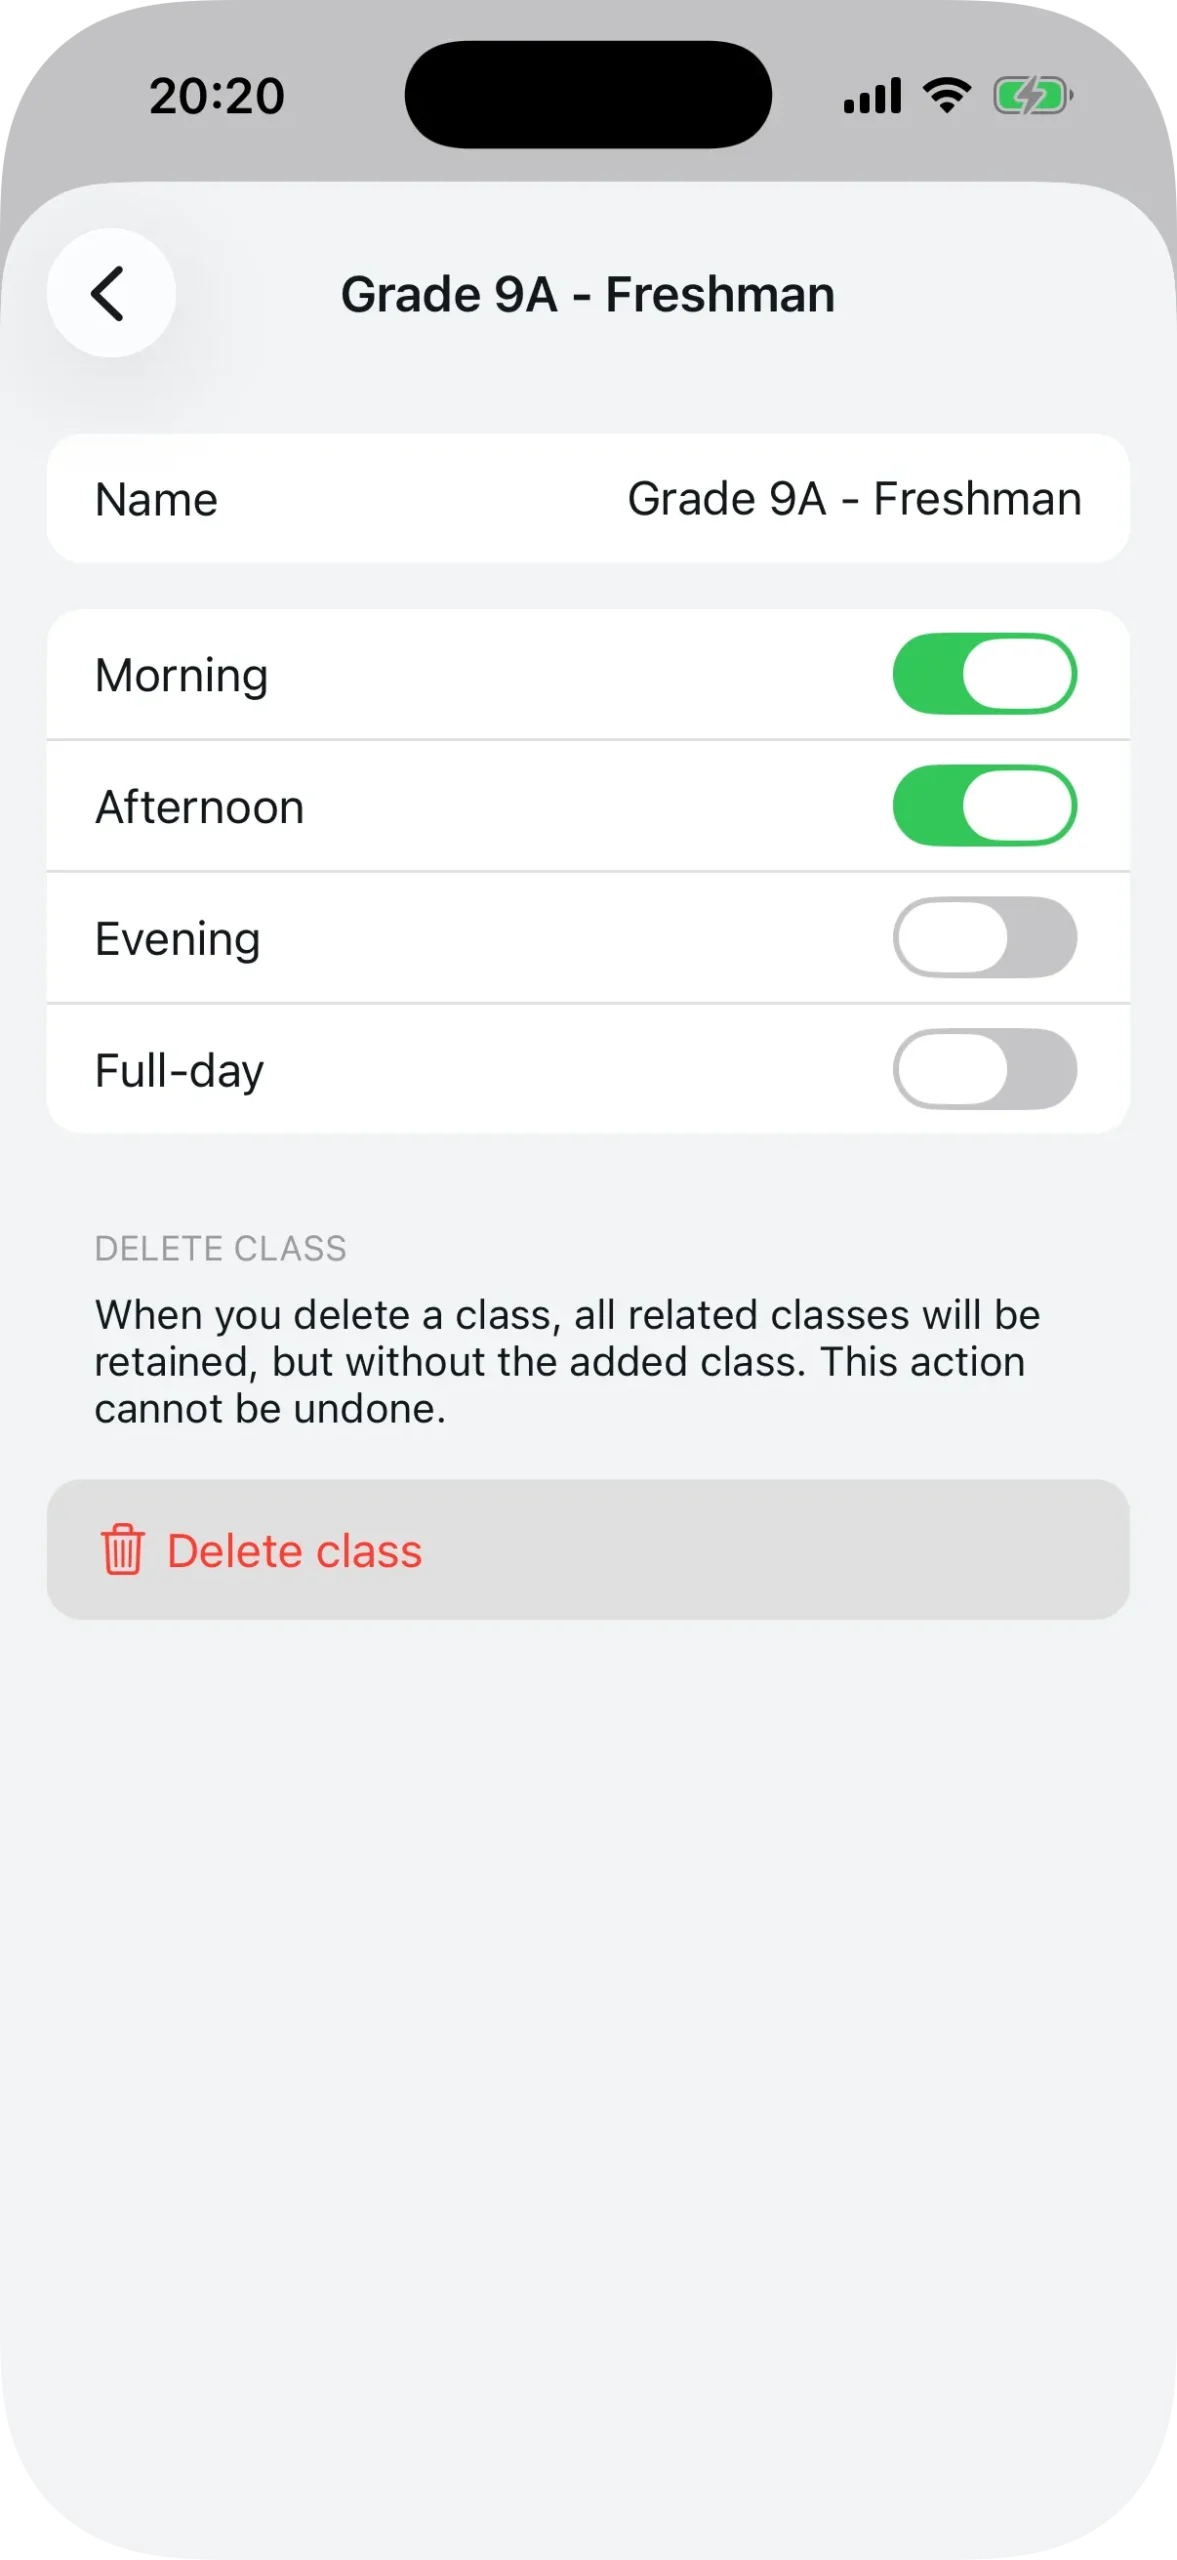
Step 5: Add classes
Classes represent the groups at your school — like “9th Grade A”, “10th Grade B”, or “Full-Day Program”. For each class, you define which shifts it belongs to:
- Morning
- Afternoon
- Evening
- Full-day
A class can belong to more than one shift. For example, “9th Grade A” might run in the morning and the afternoon.
Tap “Classes”, then “+”, give it a name, and check the corresponding shifts. Repeat for all your classes. Like subjects, classes can be reordered by dragging.

Step 6: Add teachers
Each teacher needs a profile in the system to make bookings. Tap “Teachers” and then “+”.
For each teacher, you enter:
- Name
- Reference code — a unique identifier the teacher uses to connect to the school (this can be an employee ID, initials, or any code that makes sense to you)
If your school has dozens of teachers, use the CSV import. Prepare a spreadsheet with columns for name, reference, and status, export it as CSV, and import it through the app. All teachers will be added in seconds.
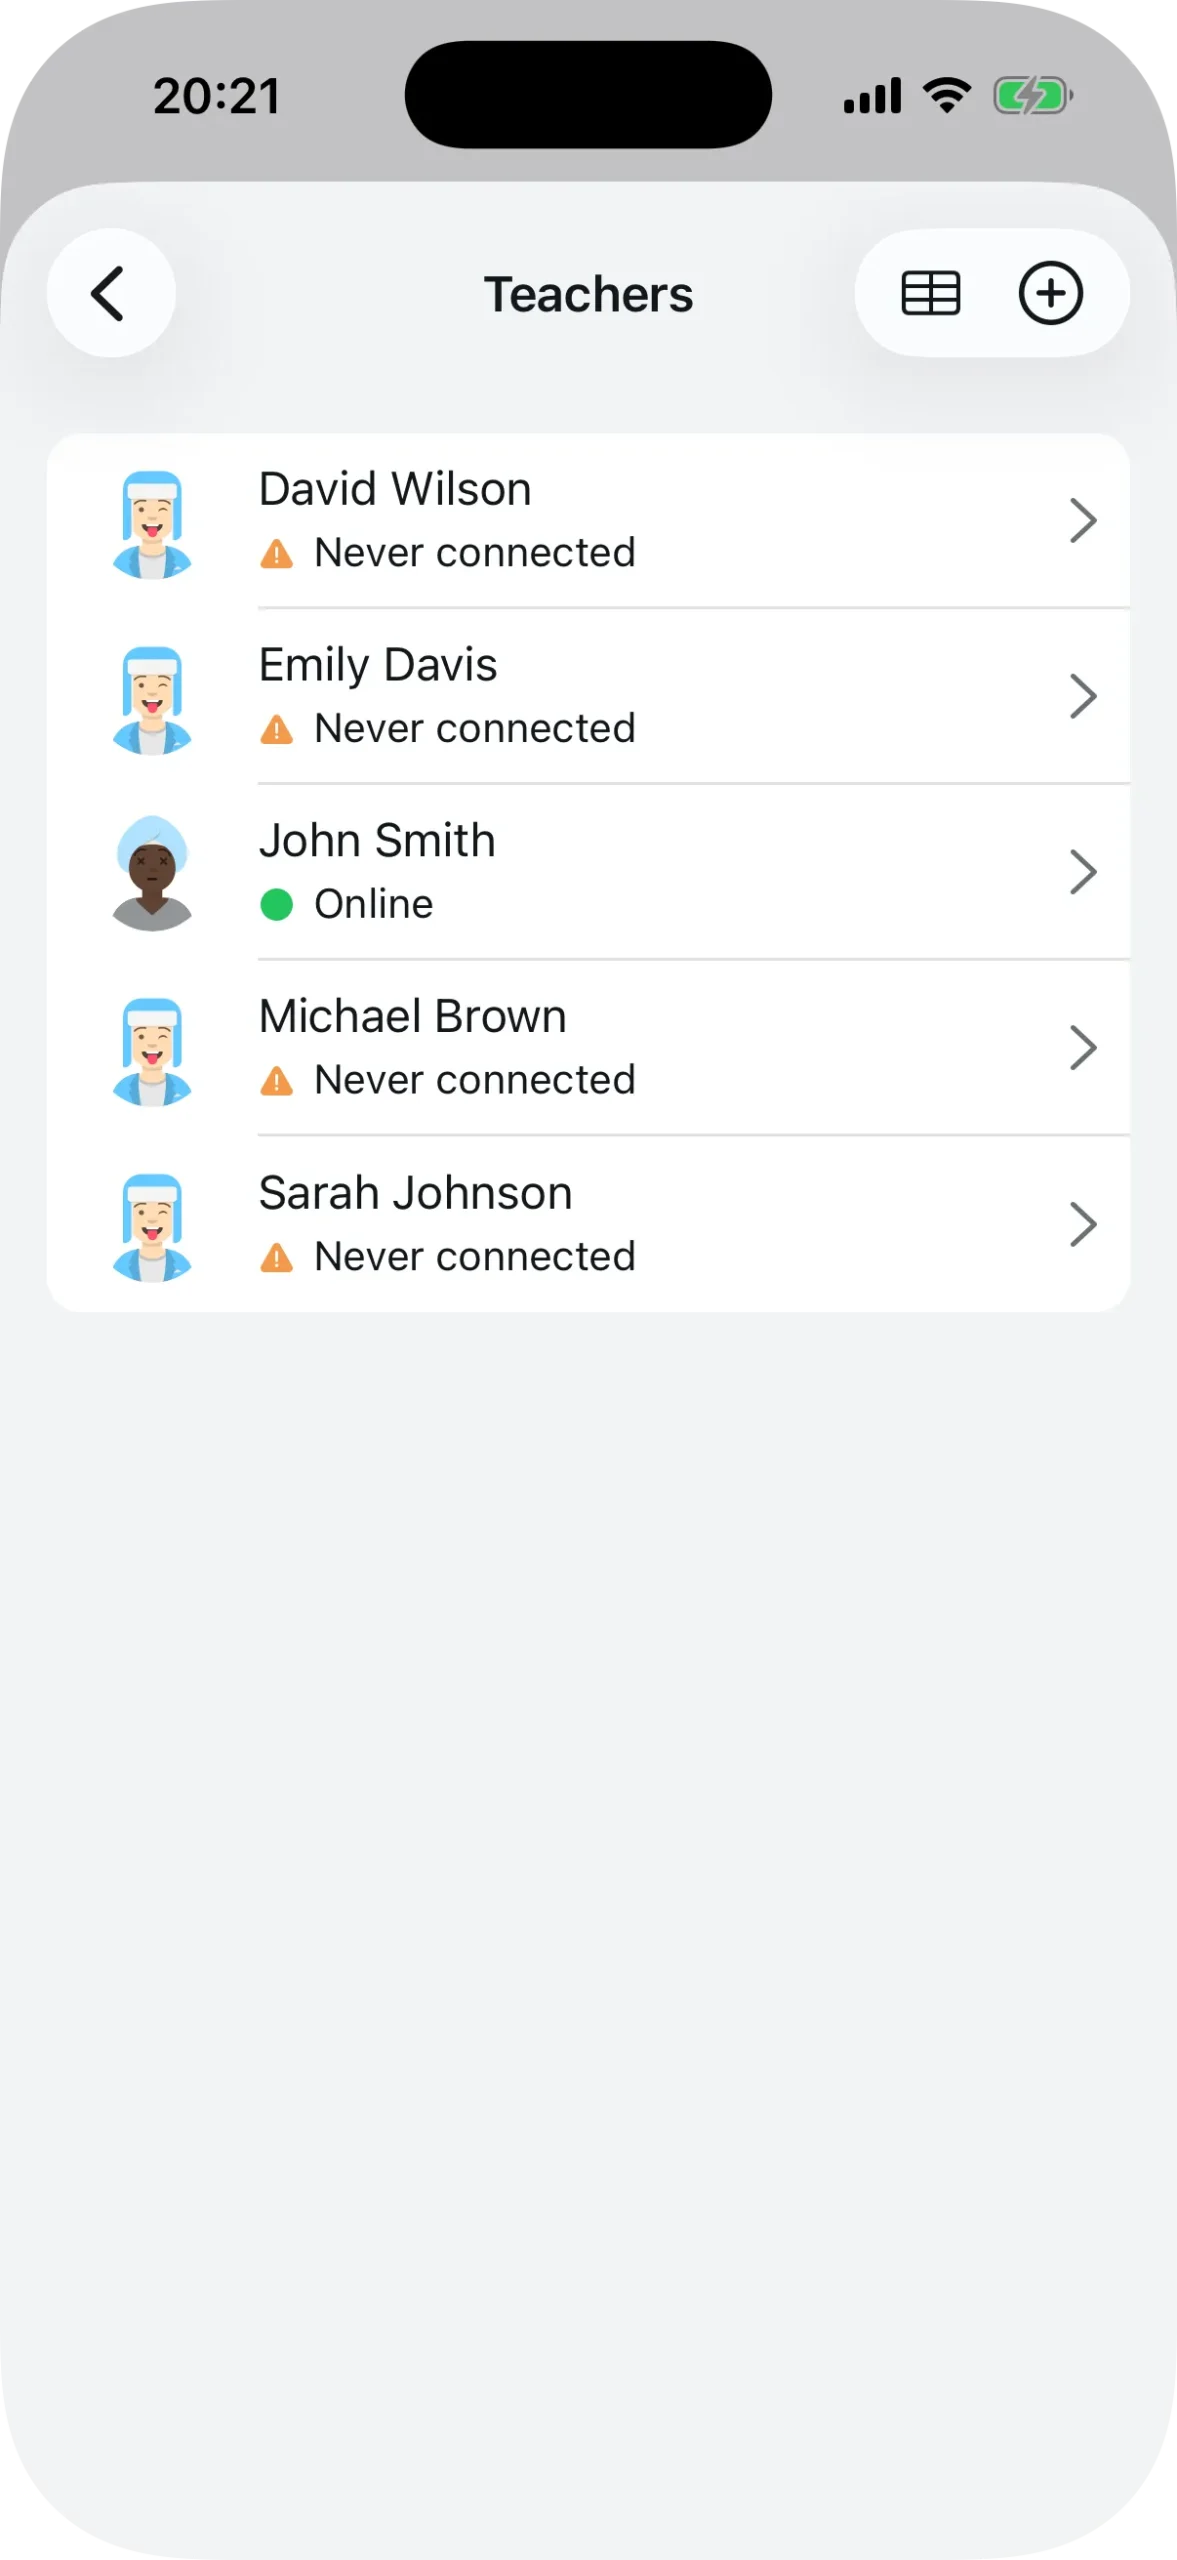
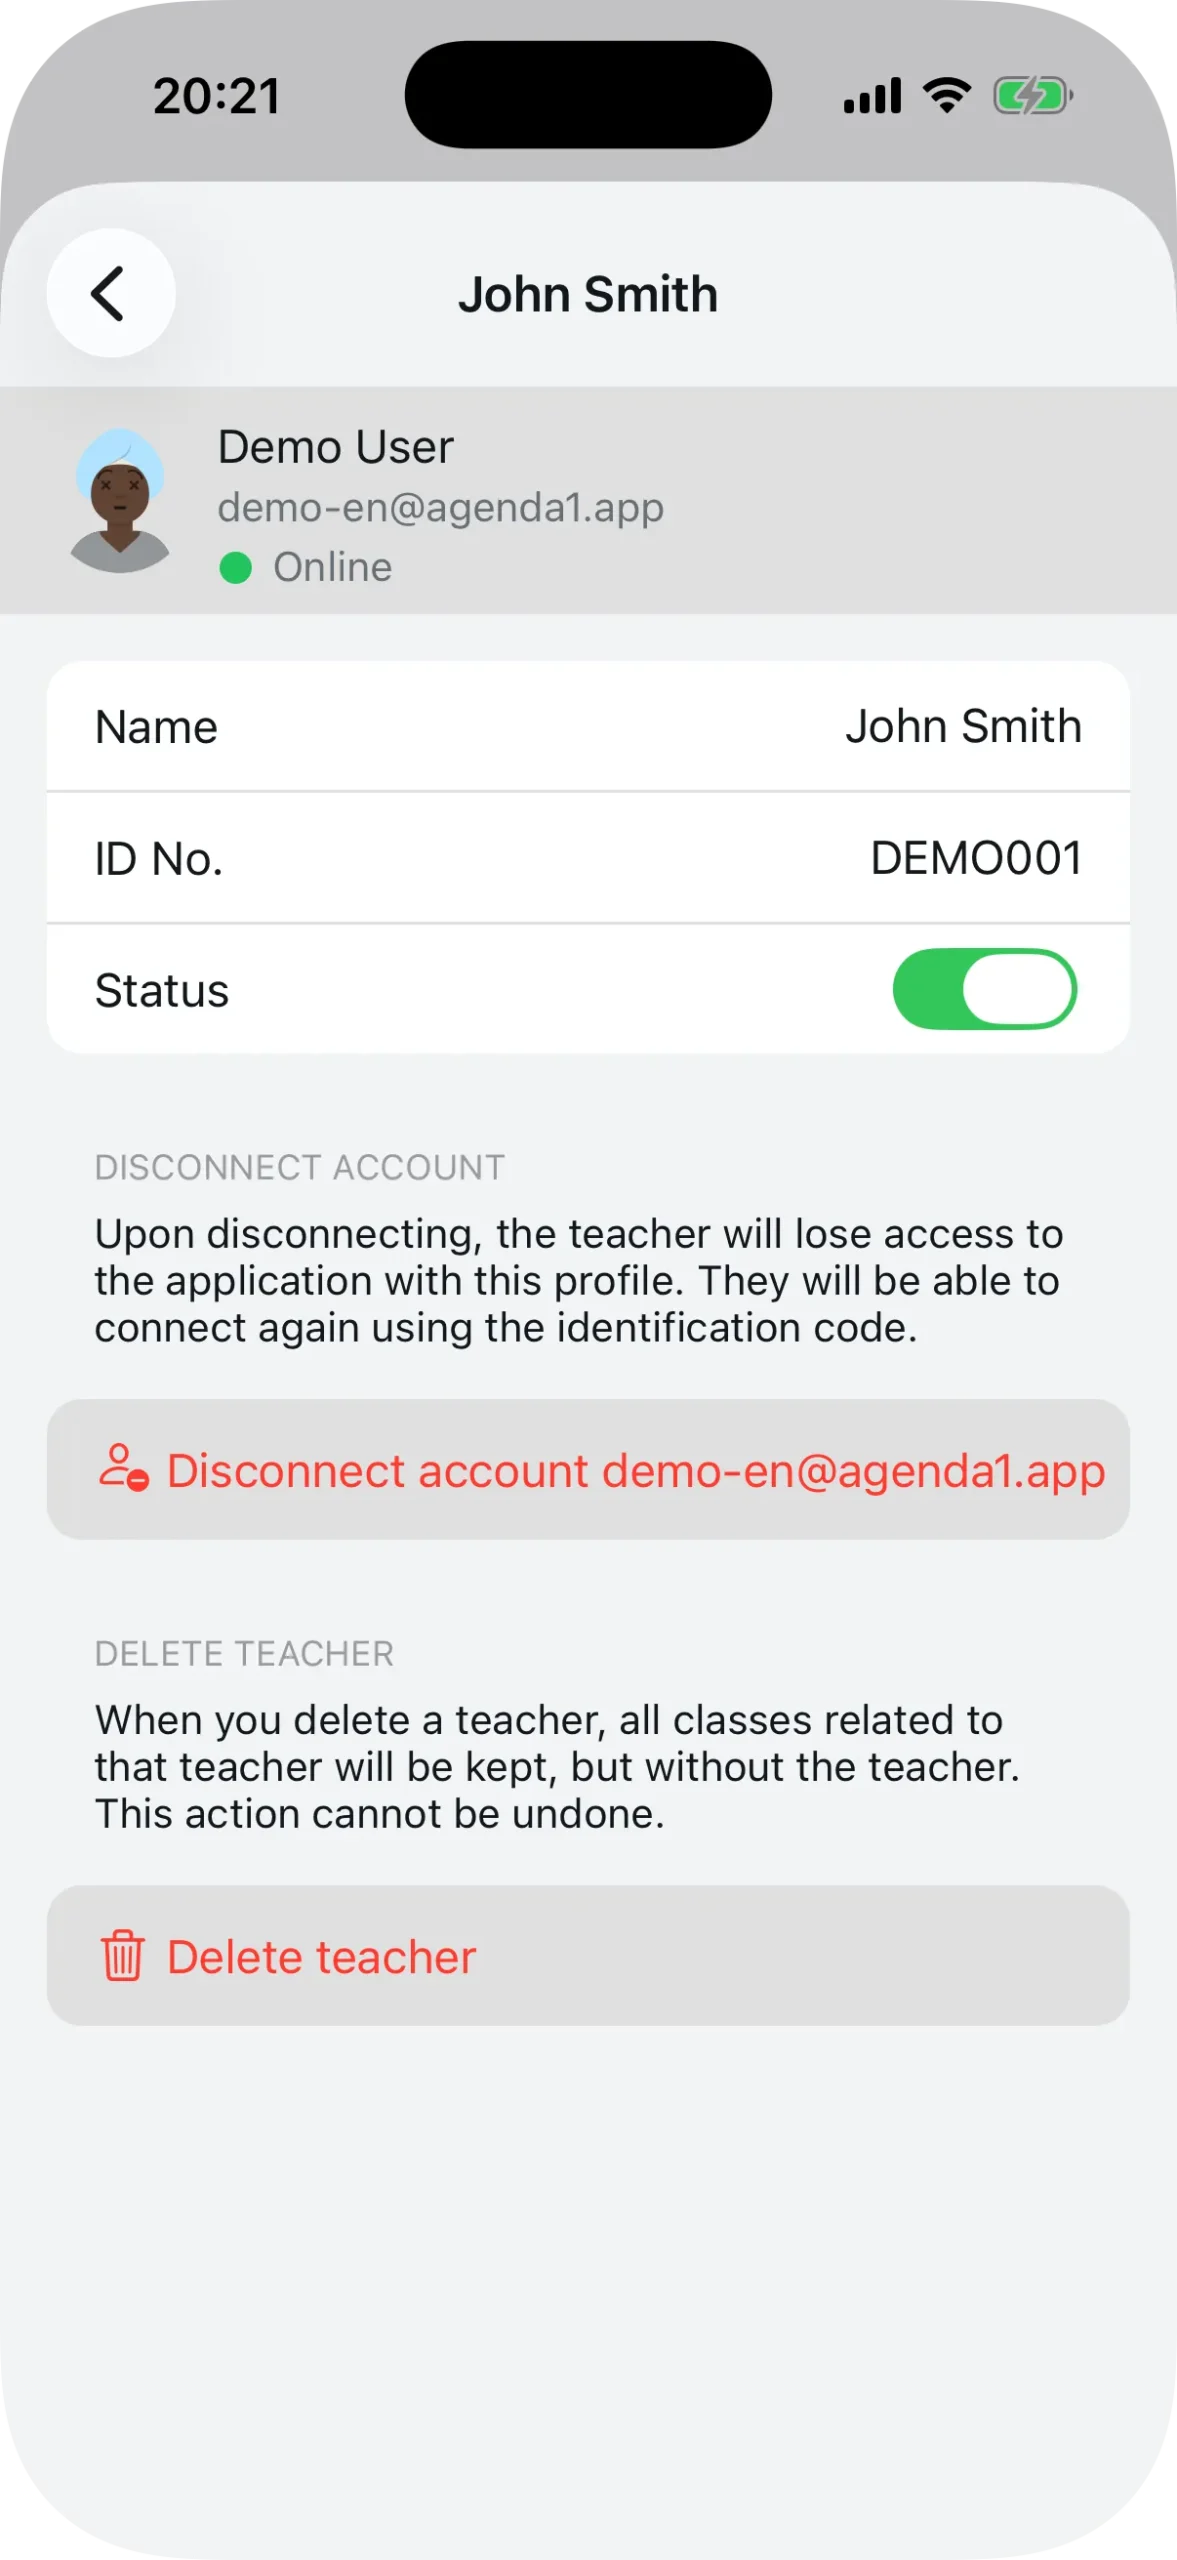
After being added, teachers appear in the list with a status indicator:
- Green — connected and active
- Orange — added, but has never connected
- Red — blocked
Step 7: Classes per period and timetable
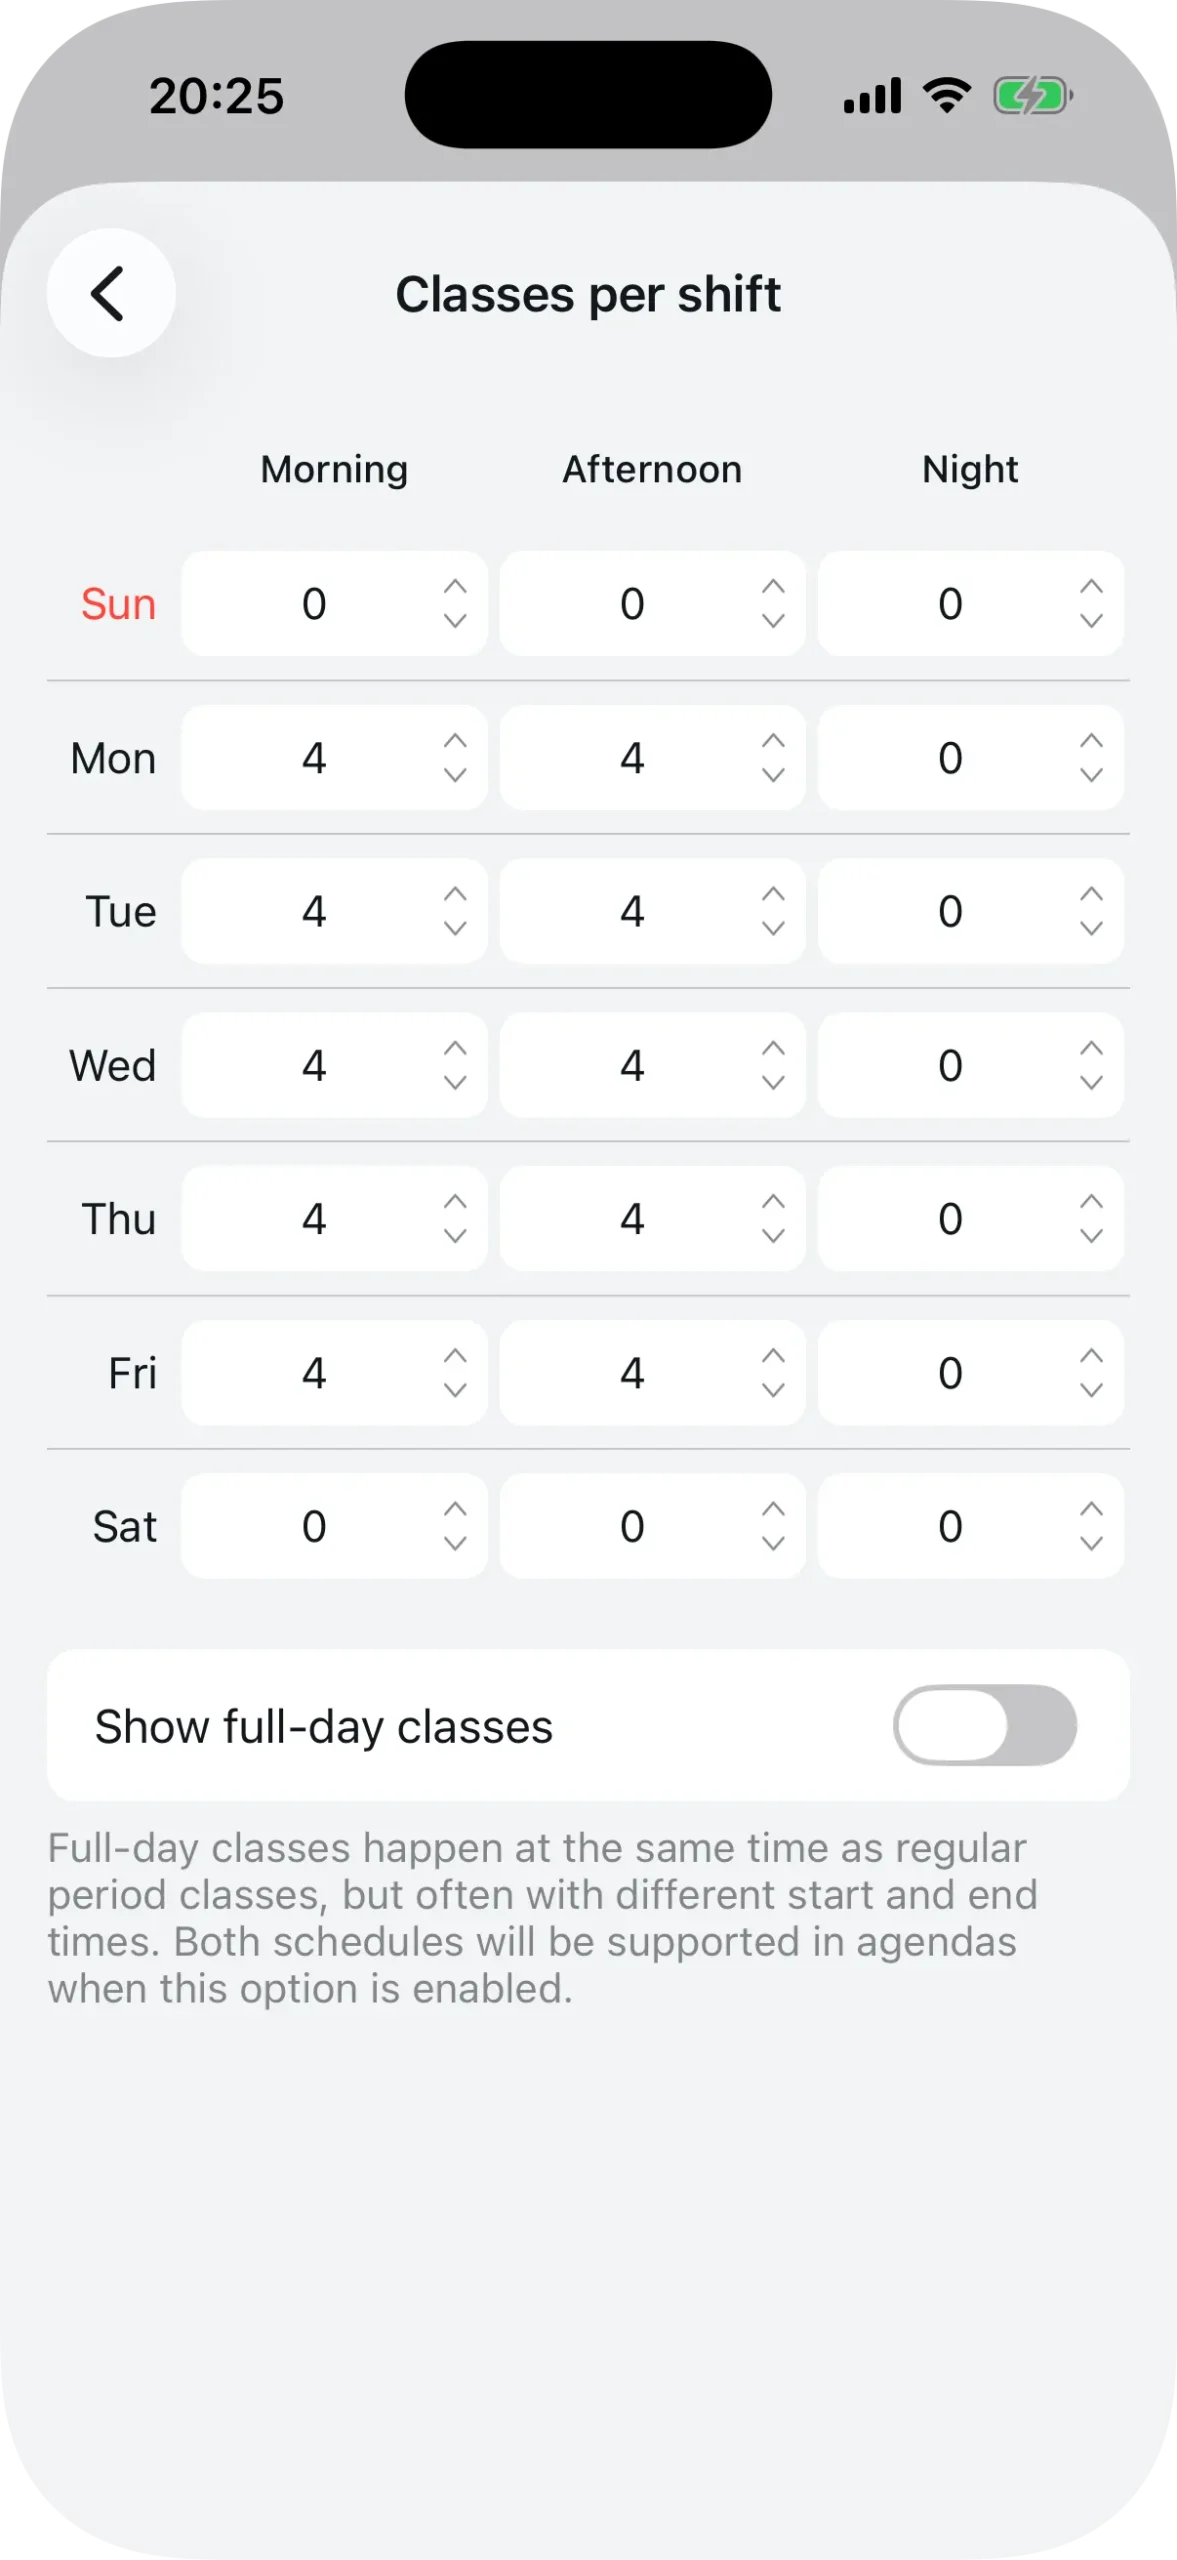
Classes per period
This step defines how many class periods each shift has on each day of the week. It’s a grid with the 7 days of the week as rows and the shifts (Morning, Afternoon, Night) as columns.
For example, if Monday through Friday have 5 periods in both the morning and afternoon shifts, enter 5 in those cells. If Saturday and Sunday have no classes, leave them at 0.
Use the up and down arrows to adjust the values, or type them directly.
If your school has a full-day shift, enable that option to show a fourth column. Full-day classes run alongside the regular shifts but can have different times.
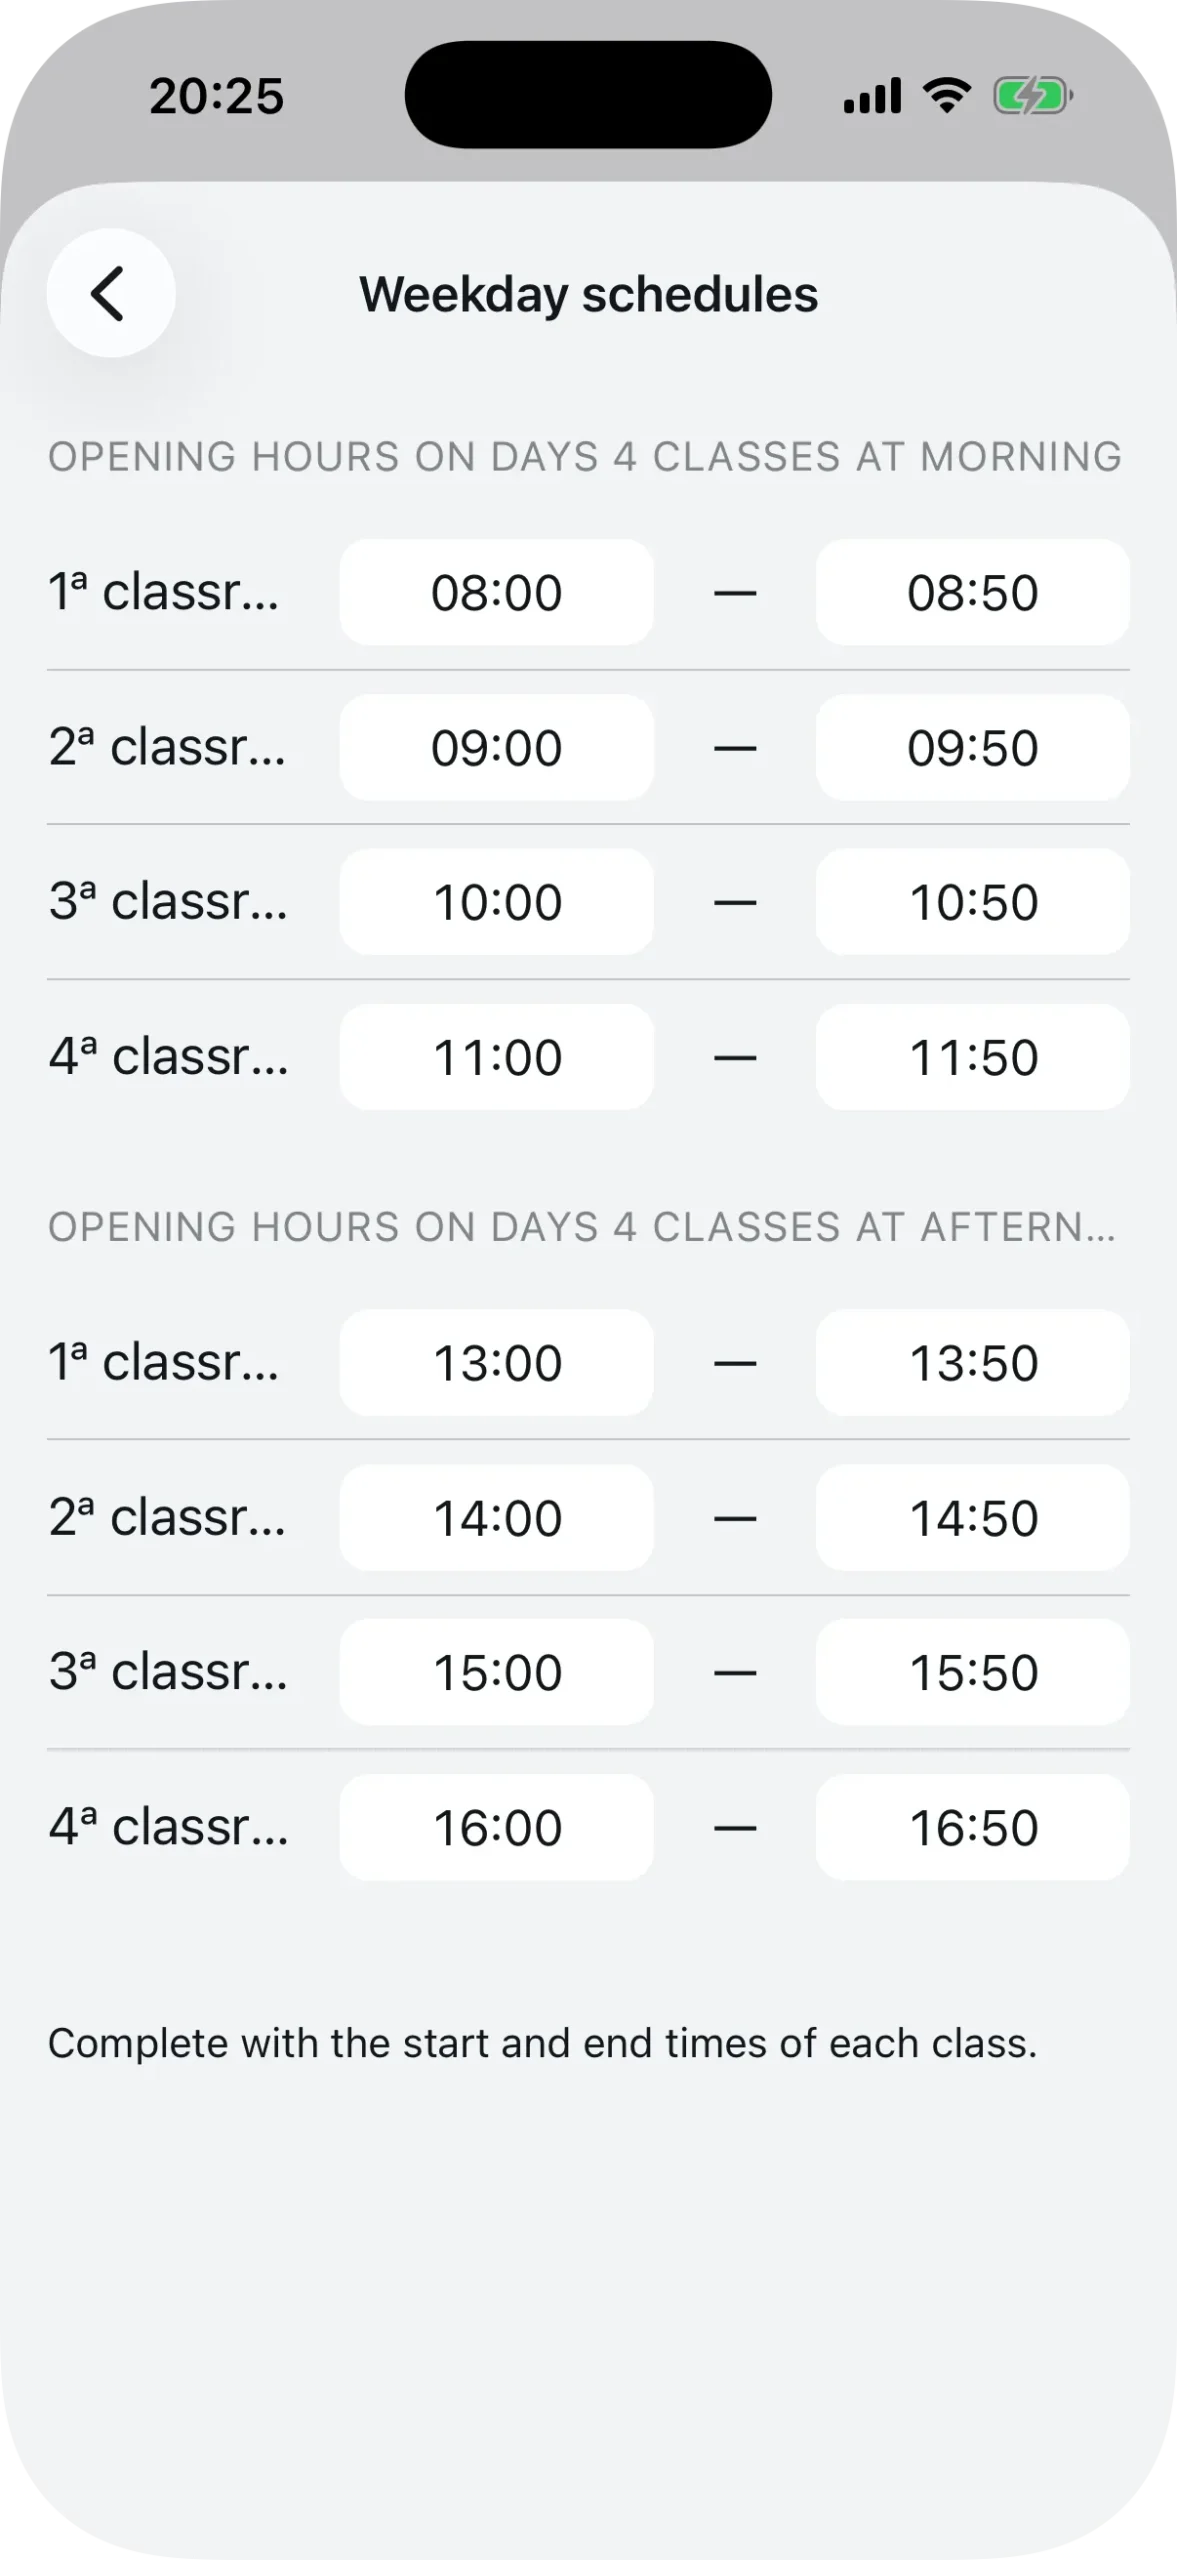
Timetable
Once the classes per period are set, Agenda1 automatically generates the time fields. For each combination of shift and number of periods, you define the start and end time of each class period.
A convenient touch: when you enter the end time of one period, the start time of the next is filled in automatically.
If the number of periods differs on certain days (for example, 5 periods on Monday and 4 on Friday), the system creates separate sections for each configuration. You set the times once and they apply to every day with the same number of periods.
Share with your team
With the checklist complete, your school is ready. Now it’s time to invite teachers and students.
All settings are accessible from the Preferences menu in the top right corner of the screen. You can go back and edit anything at any time.
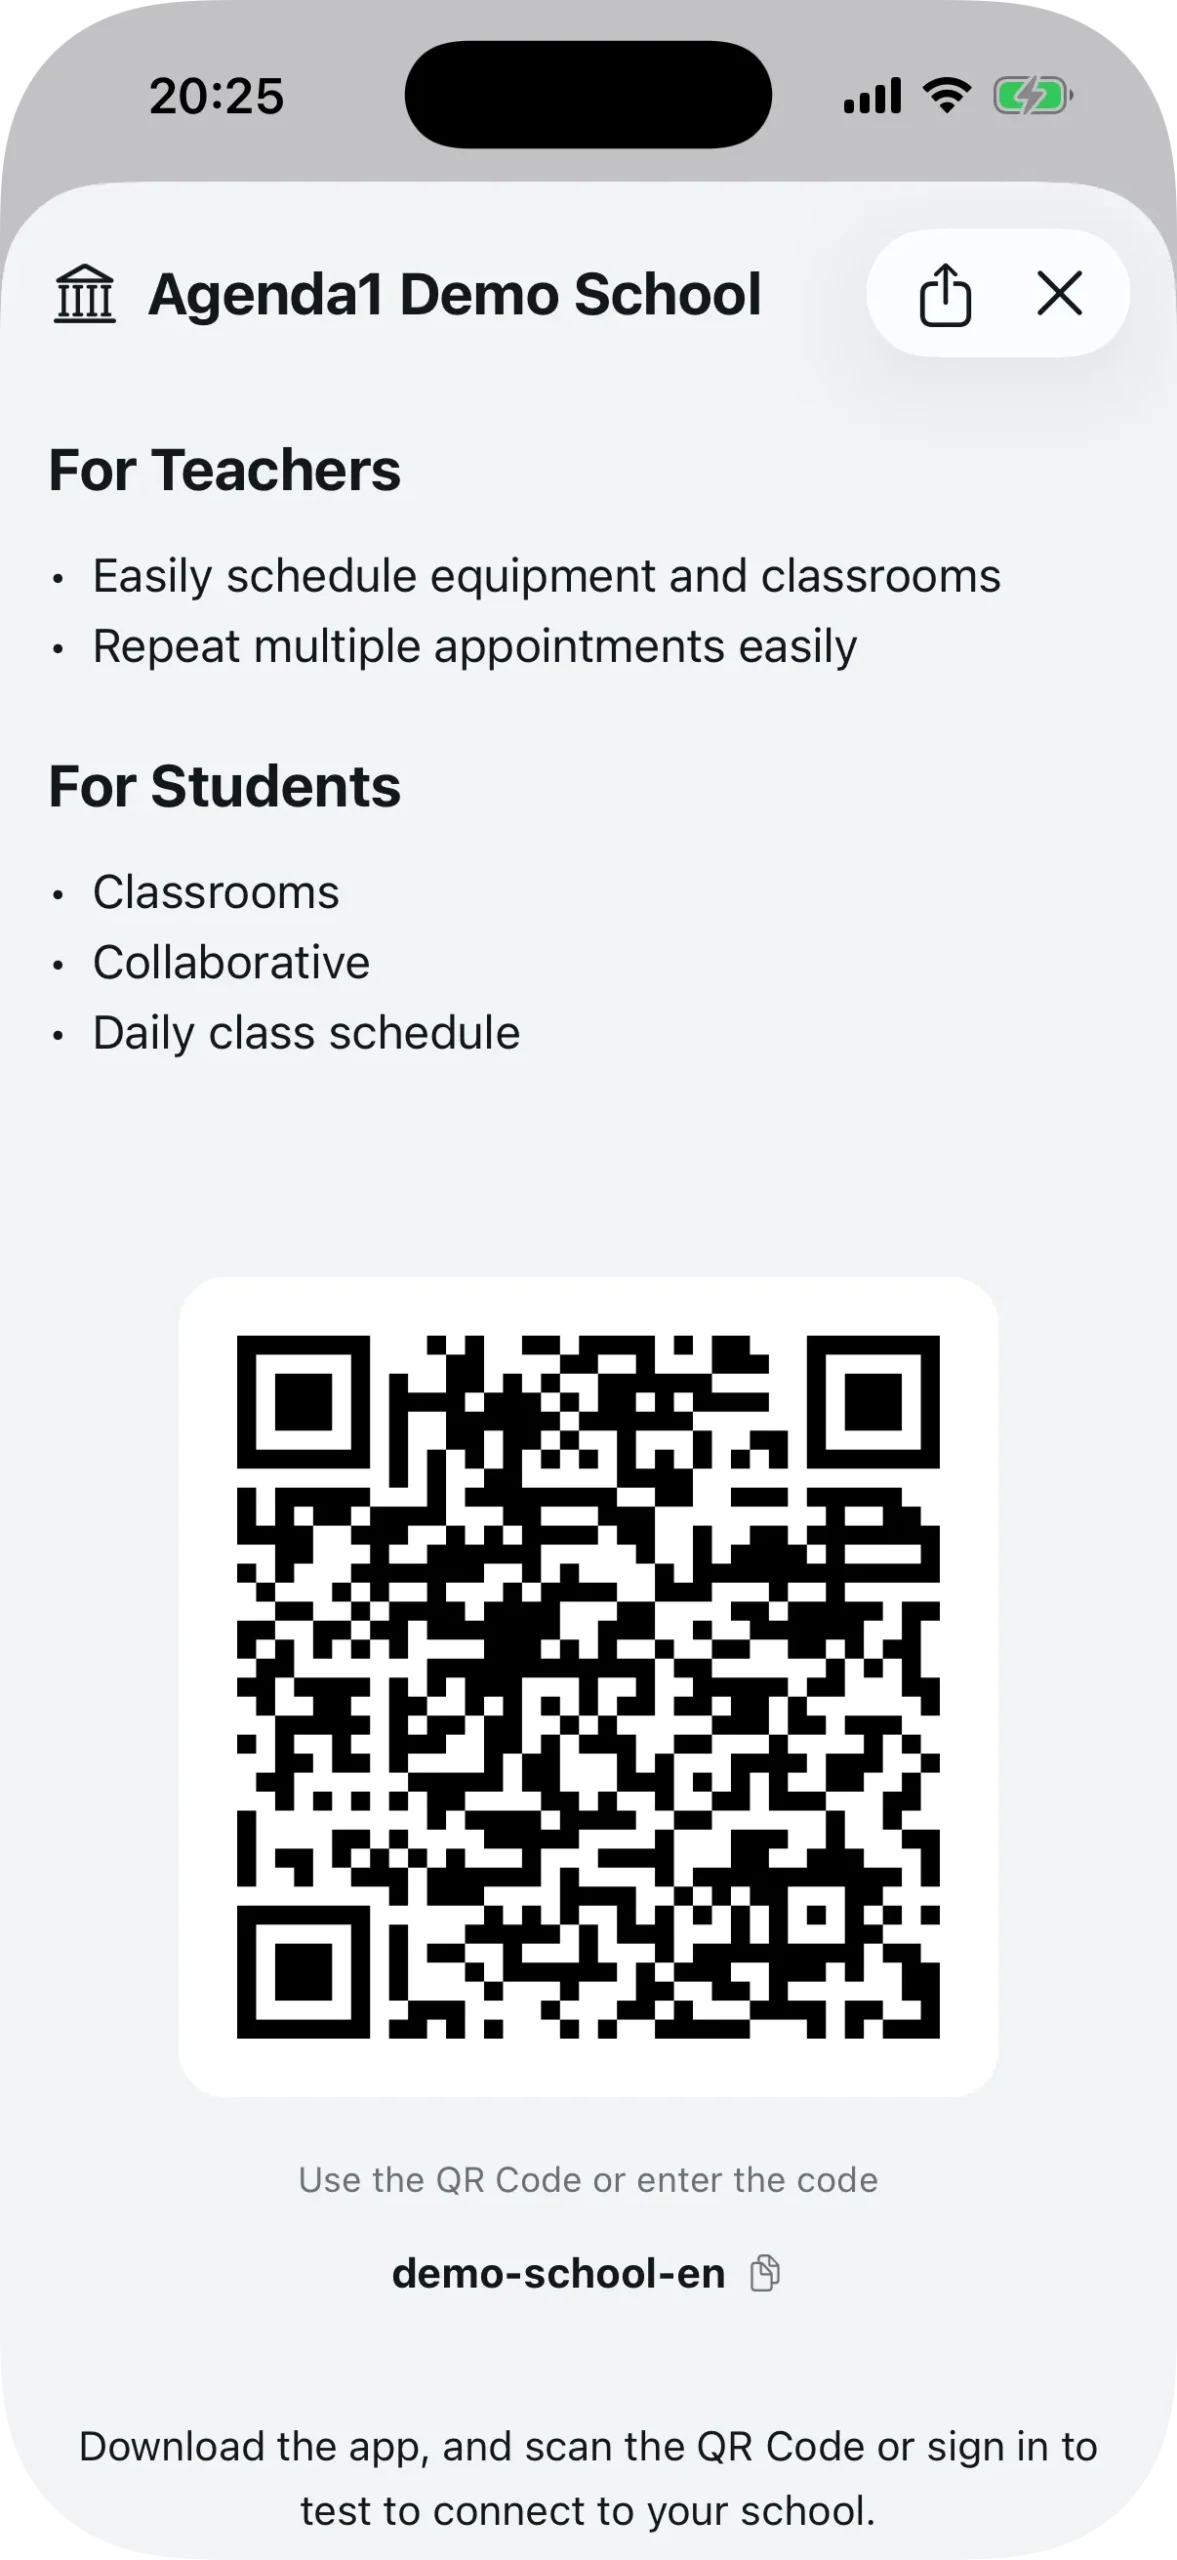
To invite people, tap the school name on the dashboard to open the details screen. You’ll see:
- A large QR code that any teacher or student can scan to connect
- The school’s ID code for typing it in manually
- A share button to send the link via text, email, or any other app
The generated link follows the format schools.agenda1.app/{school-id}. When a teacher or student opens that link, the app goes straight to the connection screen.
Teachers enter their reference code (the one you added in the previous step) to connect. Students select their class and shift.
A practical tip: print the QR code and put it up in the staff room. At your next staff meeting, ask everyone to scan it and connect. It takes 30 seconds.
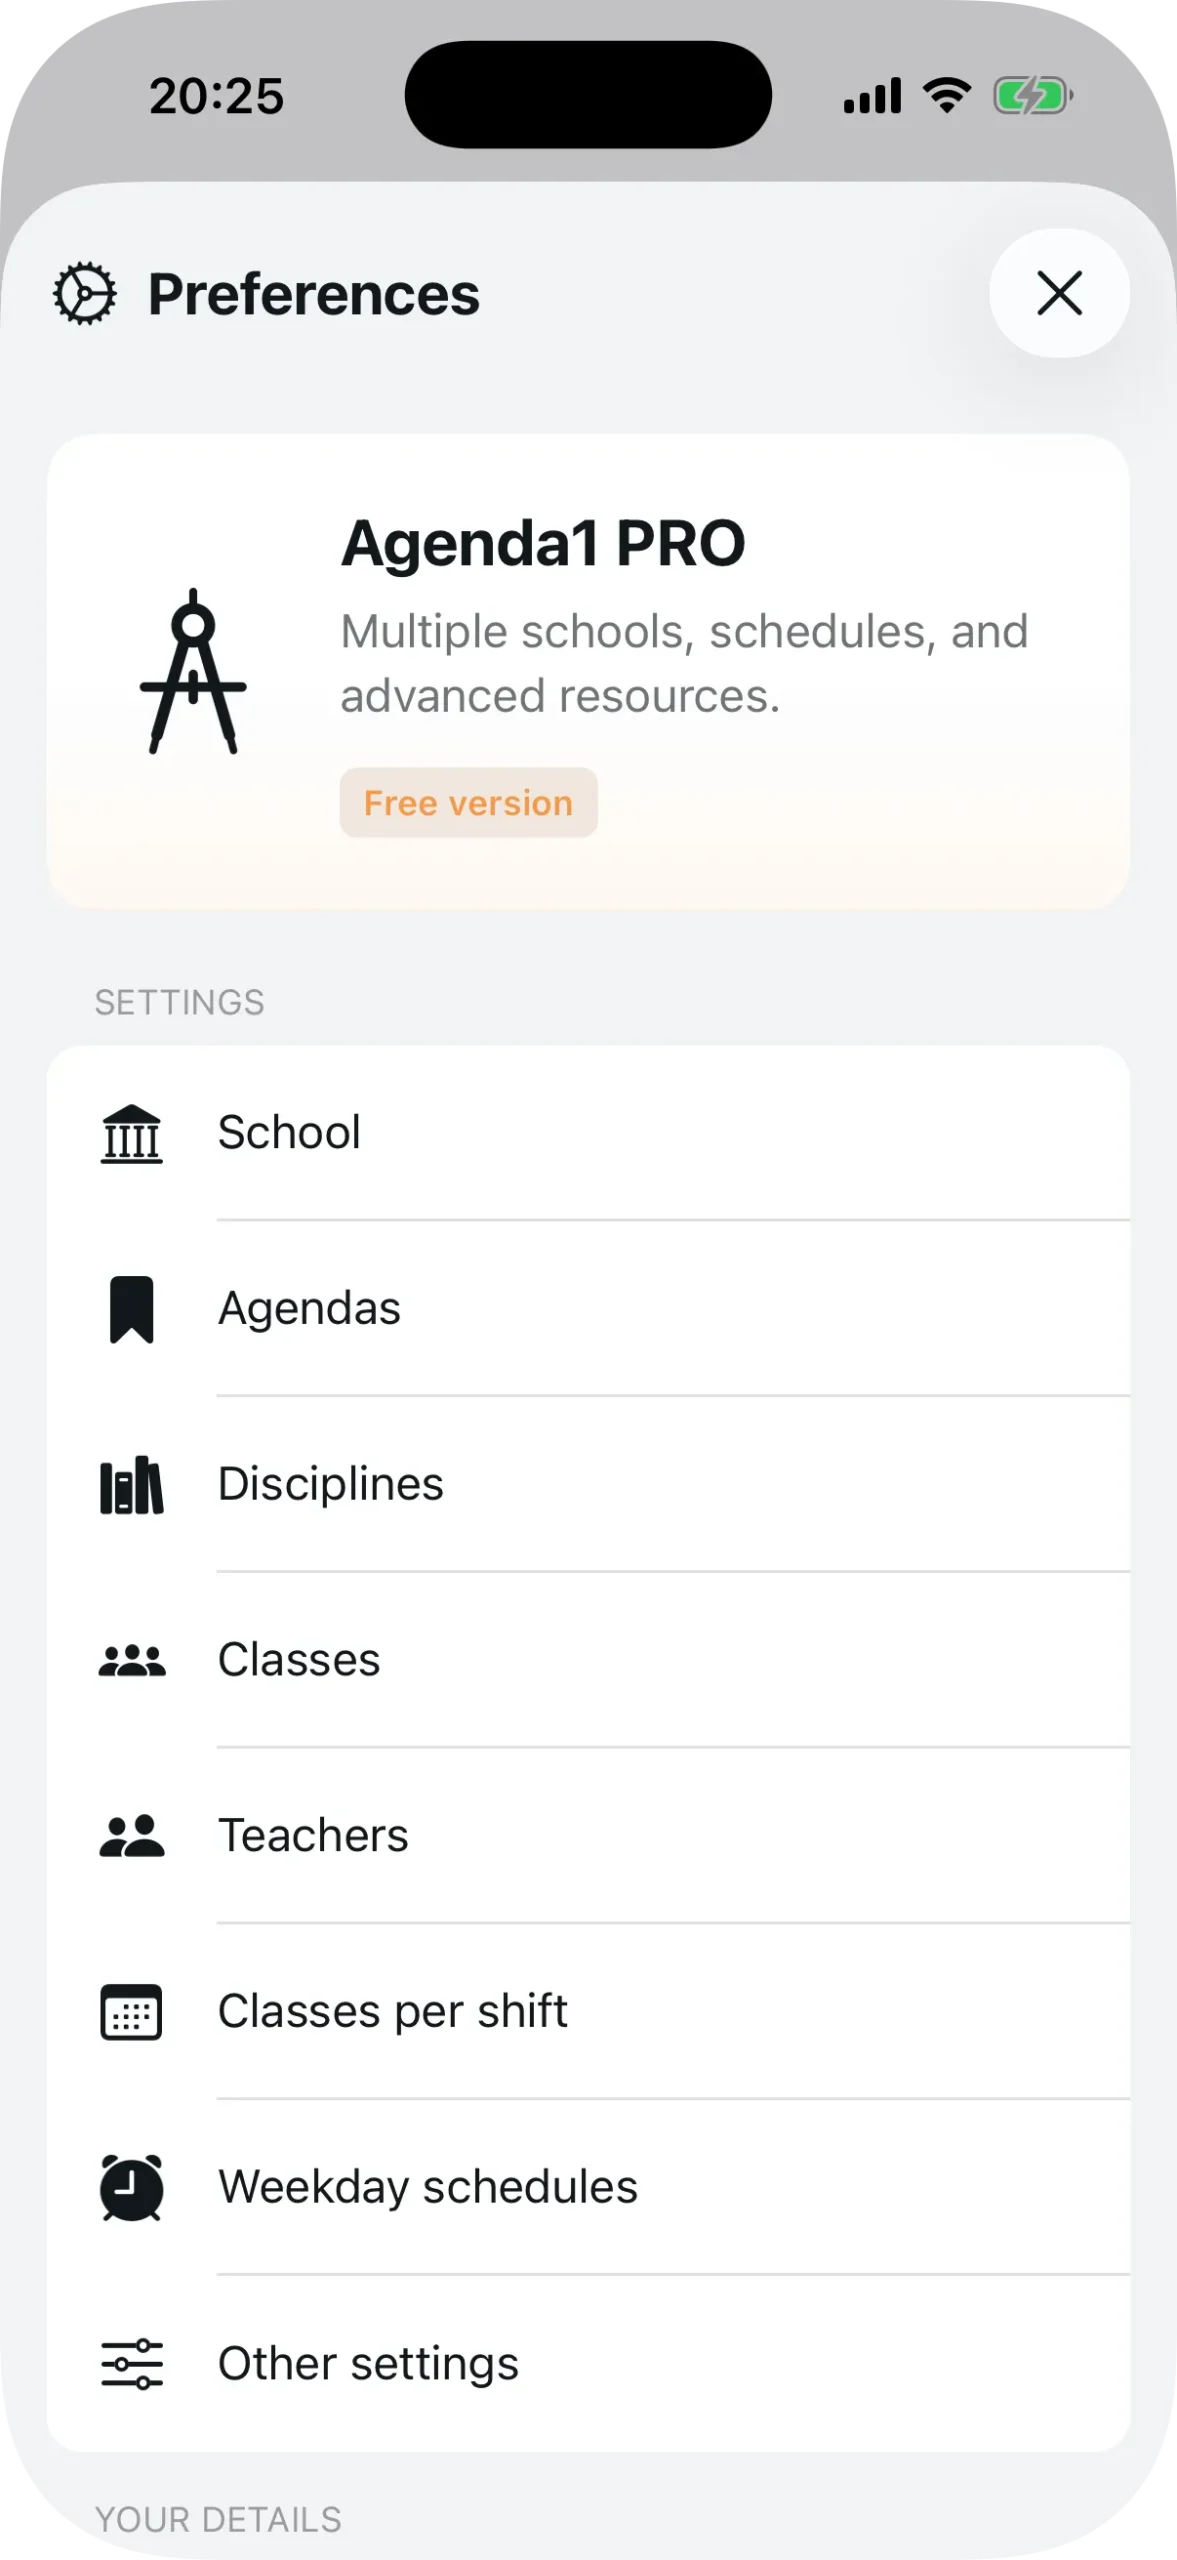
Optional settings
After completing the checklist, you can adjust three additional settings under “Other settings”:
- Next day only — prevents teachers from booking on the same day (they must plan ahead)
- All fields required — requires teachers to fill in the subject, topic, and objective when booking
- Limit number of periods — sets a maximum number of bookings per teacher per day (5, 10, 15, up to 50)
These options are off by default. Enable them based on what works for your school.
After that, share the QR code and your teachers can start booking rooms and equipment from their phones.
Download Agenda1 for free at agenda1.app and set up your school today.
Want to know how teachers connect? See the guide: how teachers connect to a school using QR Code or invite link. For a complete guide to managing bookings, check out how to manage school room bookings.