Guías · 5 min de lectura
How students join the school agenda and start collaborating

Your school uses Agenda1, a classmate told you there's a test on Friday — but you're not connected yet. You need to join the school agenda to see what the class is scheduling: exams, homework, projects, and announcements.
The process takes less than a minute. You need two things: the app installed and the school code (or the QR Code the teacher shared in the class group).
Two ways to get started
When you open Agenda1, the home screen shows three profiles: Student, Teacher, and School Administrator. Select Student.
You'll see two options:
- Join a class — to enter a school that already uses Agenda1
- Create my agenda — to set up your personal agenda with no school connection
If your school is already on Agenda1, follow the first path. If you want to organize your studies on your own, the second path creates an individual agenda.
How to connect to your school
Tap "Join a class". The connection screen offers two methods:
QR Code
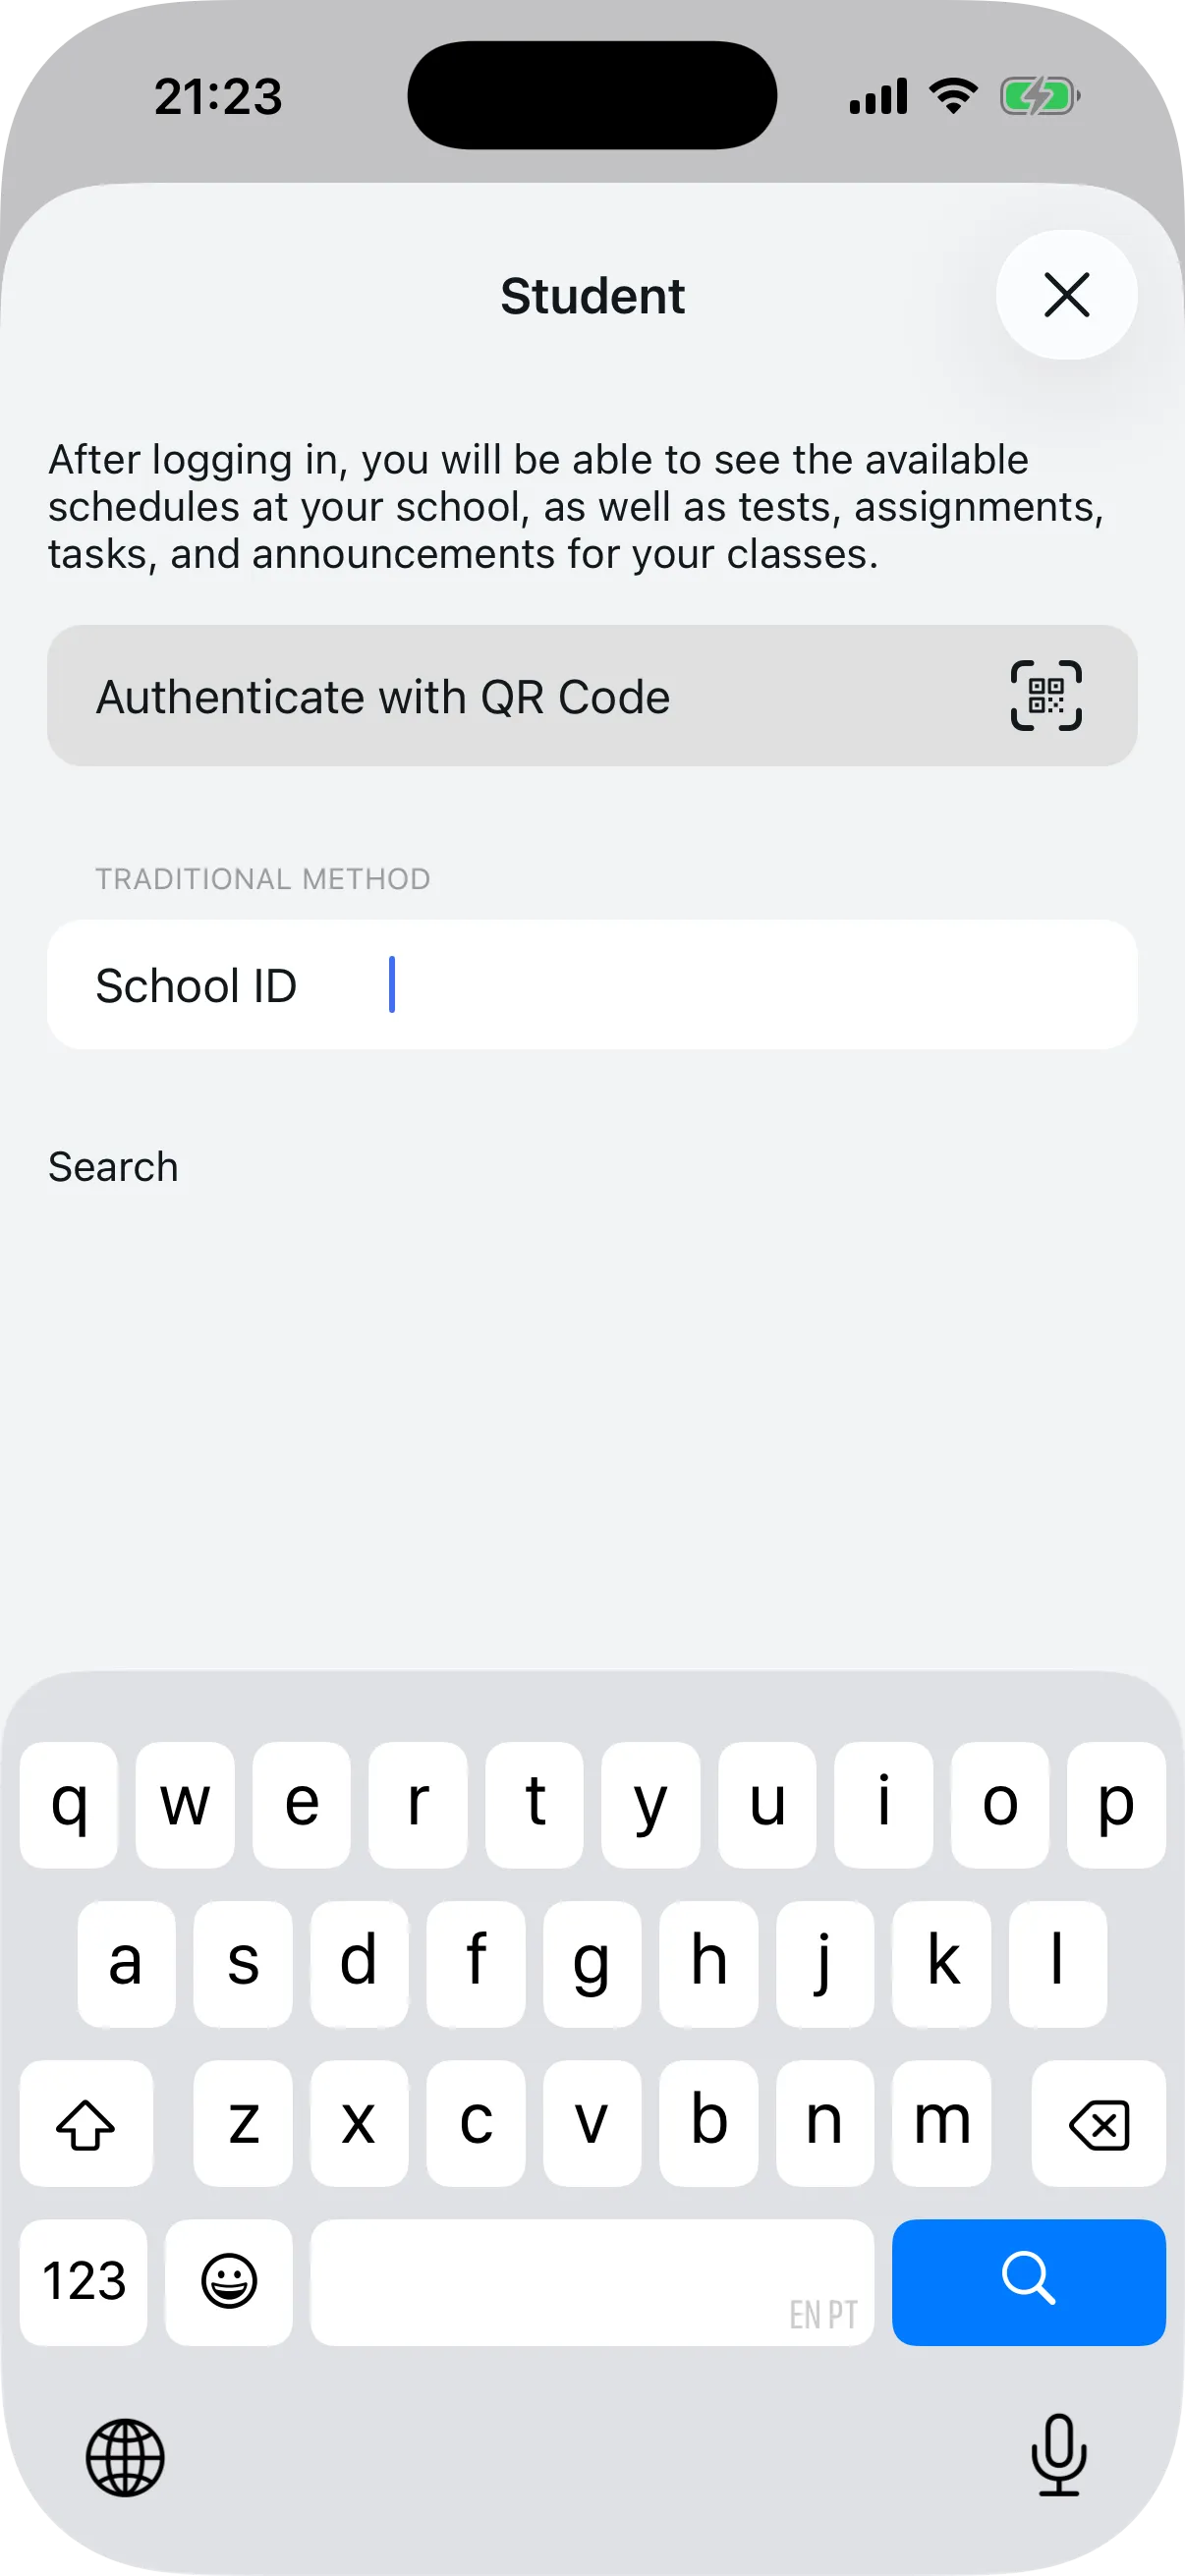
If you have access to the school's QR Code (posted on the bulletin board, sent by the teacher or a classmate), tap "Authenticate with QR Code". The phone camera opens automatically. Point it at the code and the app recognizes the school instantly — no typing needed.
If someone shared the QR Code as a link and you opened it in the browser, the page shows the school name, buttons to download the app, and the option to open directly in Agenda1.
School code
If you only received the code by message (format SCH12, for example), use the Traditional Method. Type the identifier in the "School ID" field and tap "Search". If the code exists, the app finds the school and moves forward.
If the code isn't found, check with the teacher or a classmate. It might be a typo.
Choose class and period
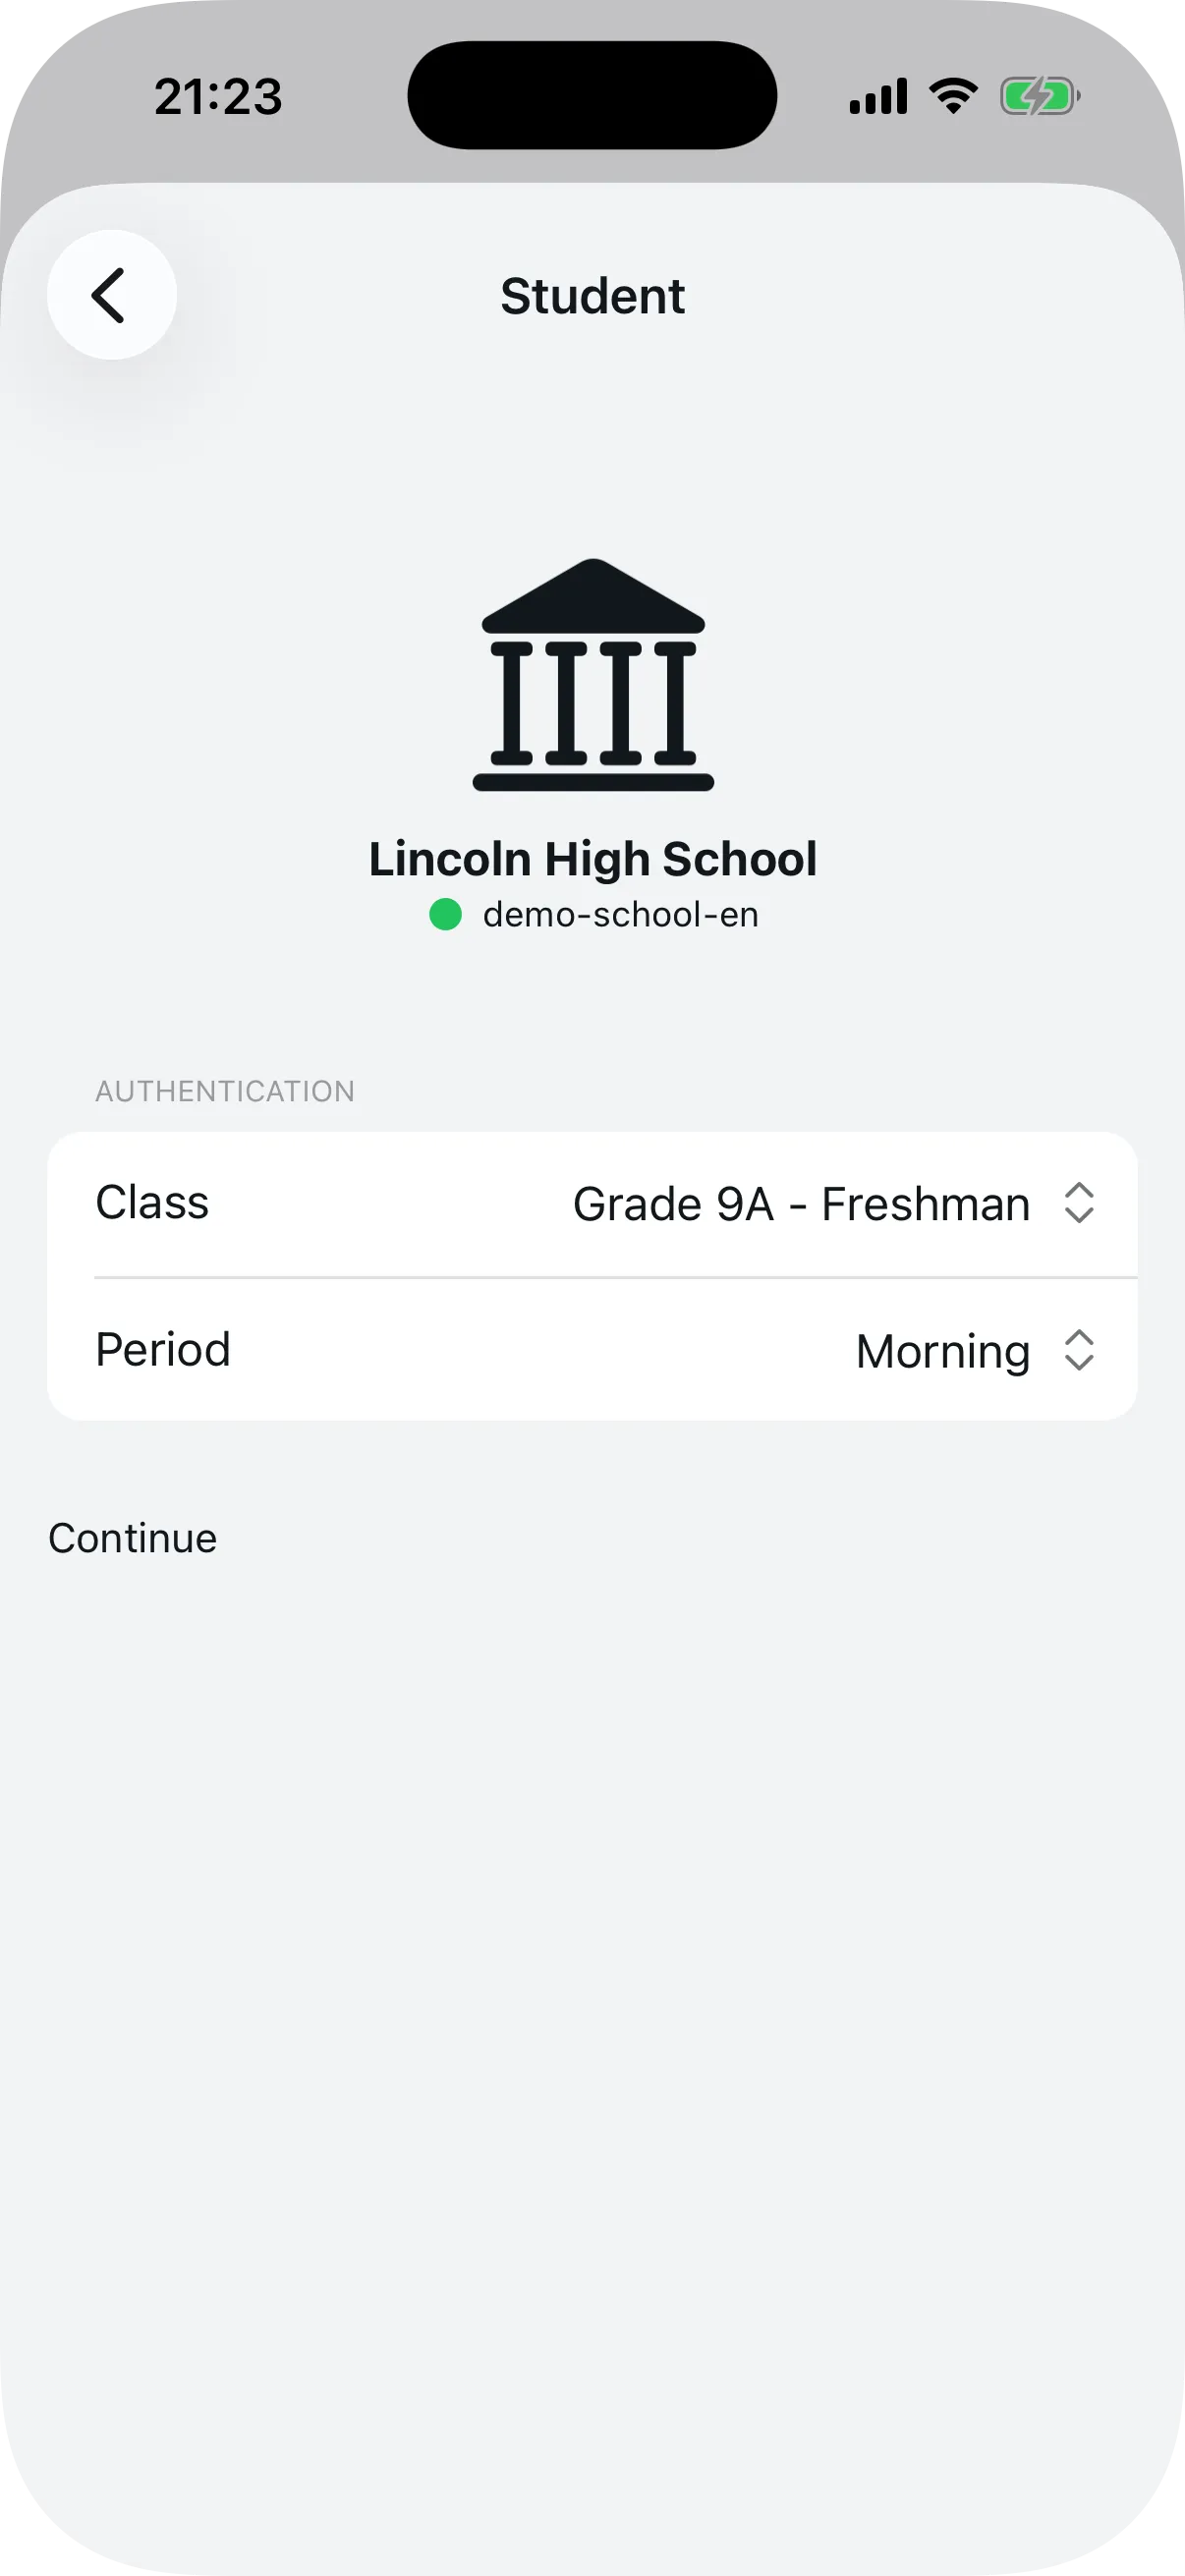
After the app finds the school, you see the icon, name, and status confirmed on screen. Now you have two choices:
- Class — select your class from the menu (Grade 9A - Freshman, Grade 9B, or however the school organized them)
- Period — choose the shift: Morning, Afternoon, Evening, or Full Day
The period defines which time slots appear in your schedule. If you study in the morning, select Morning.
Tap "Continue". Done. You're in the school agenda.
What appears in the student panel
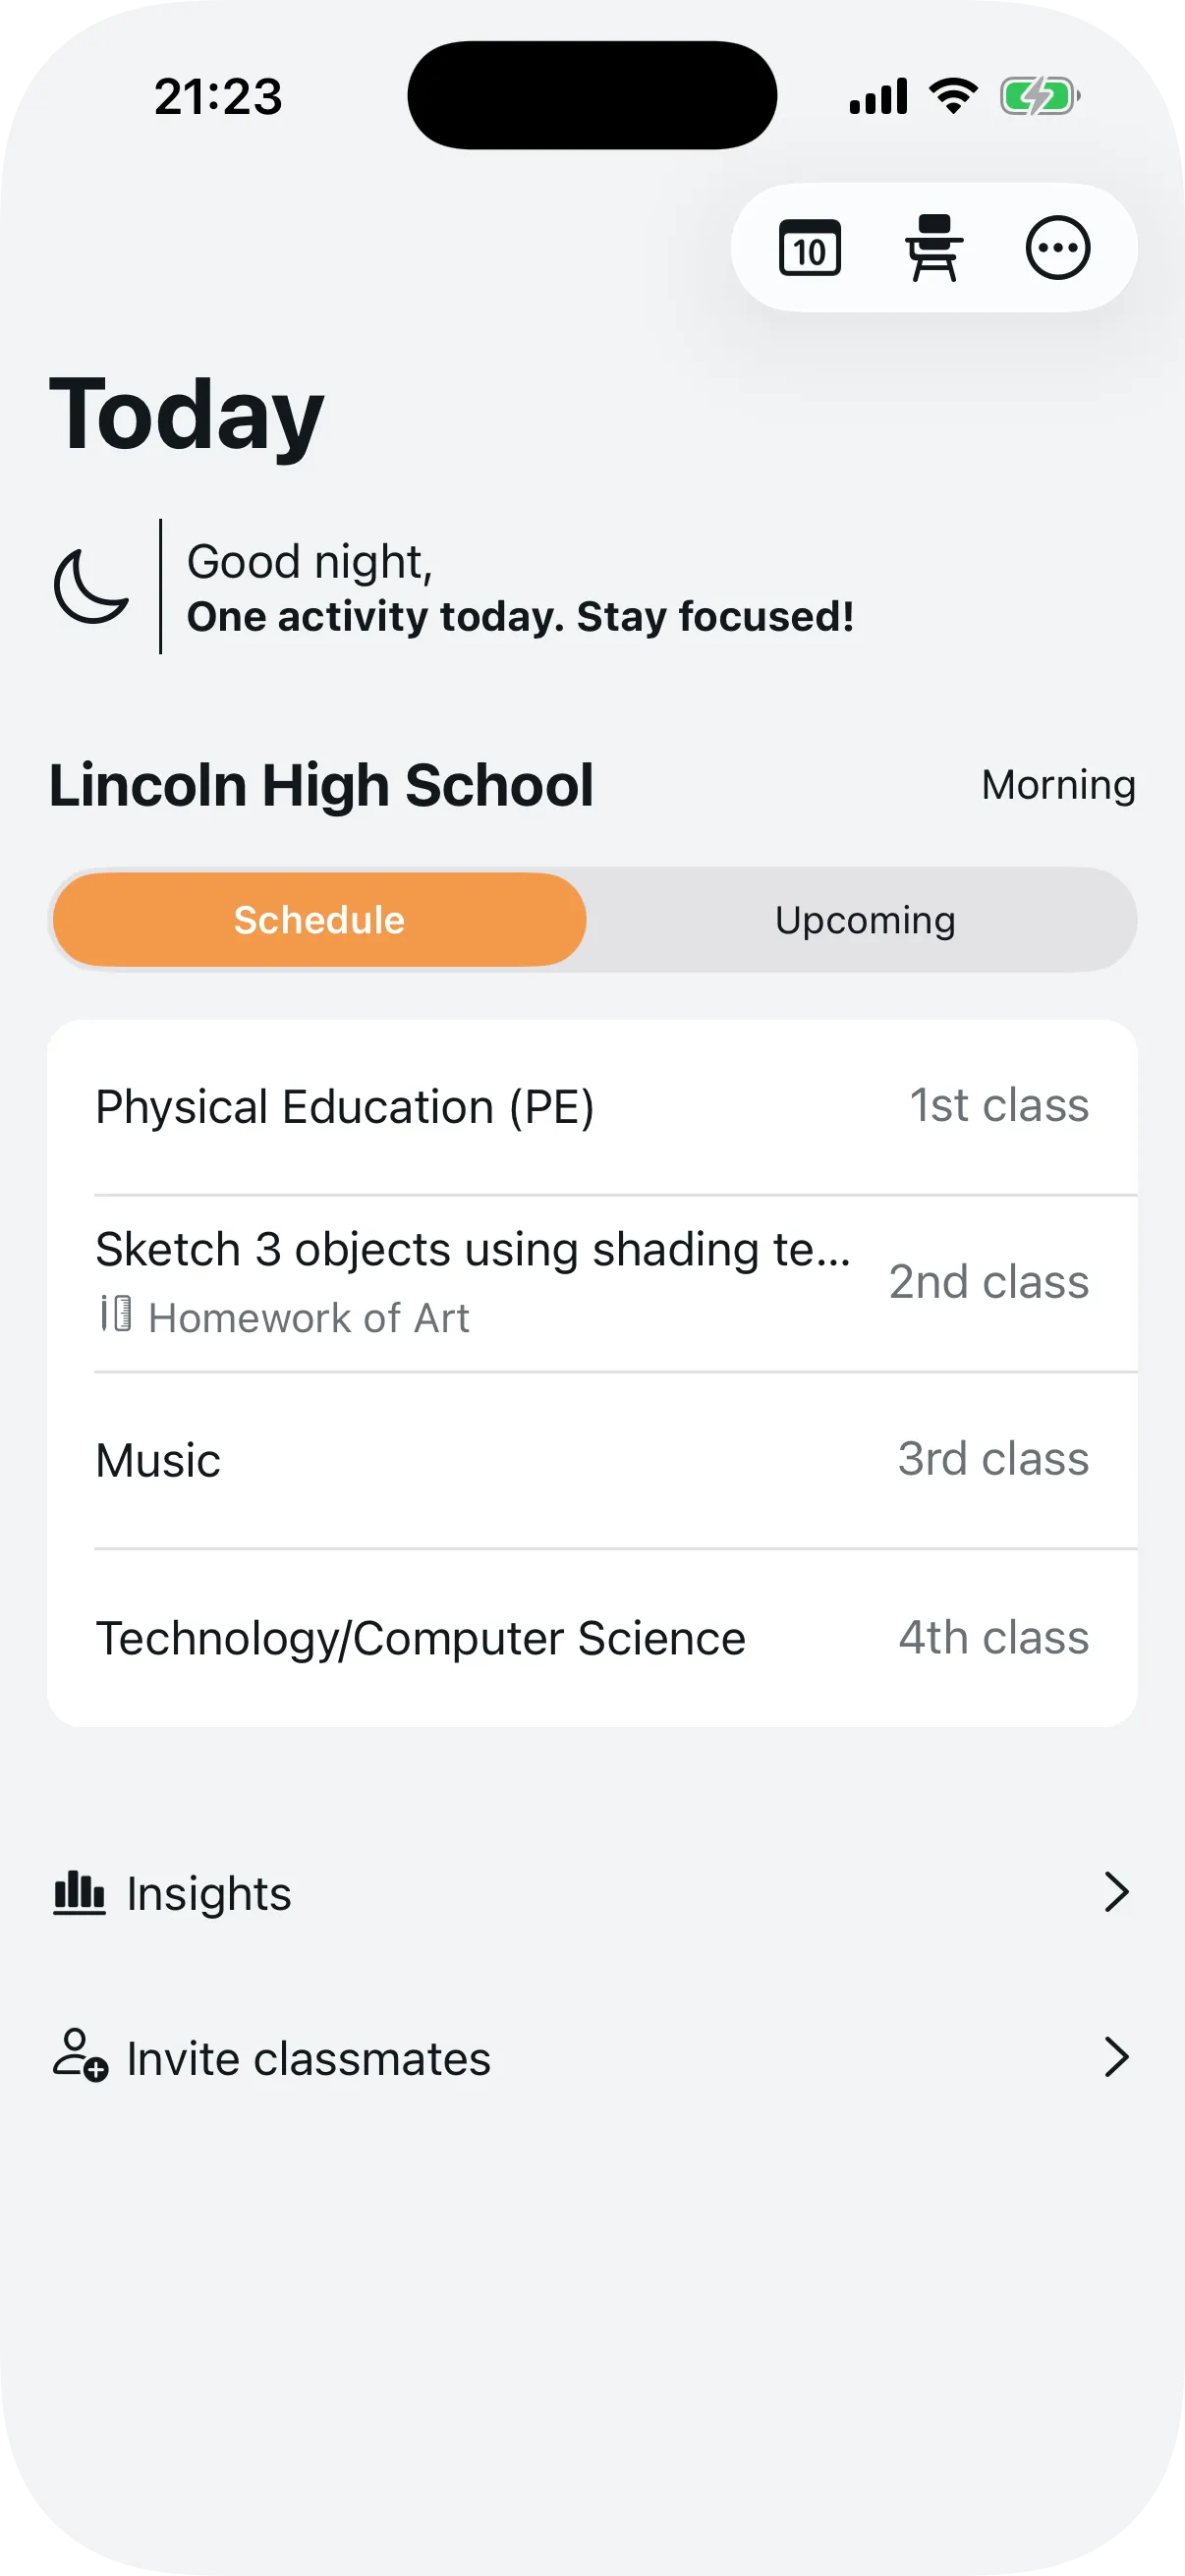
After connecting, the app opens the student panel. The screen shows the class schedule for the day — Physical Education (PE) in the 1st class, Art in the 2nd, Music in the 3rd, Technology/Computer Science in the 4th, and so on.
If there's something scheduled in a time slot, the appointment title appears alongside the subject. In the example, the 2nd class shows "Homework of Art" with a description of the assignment.
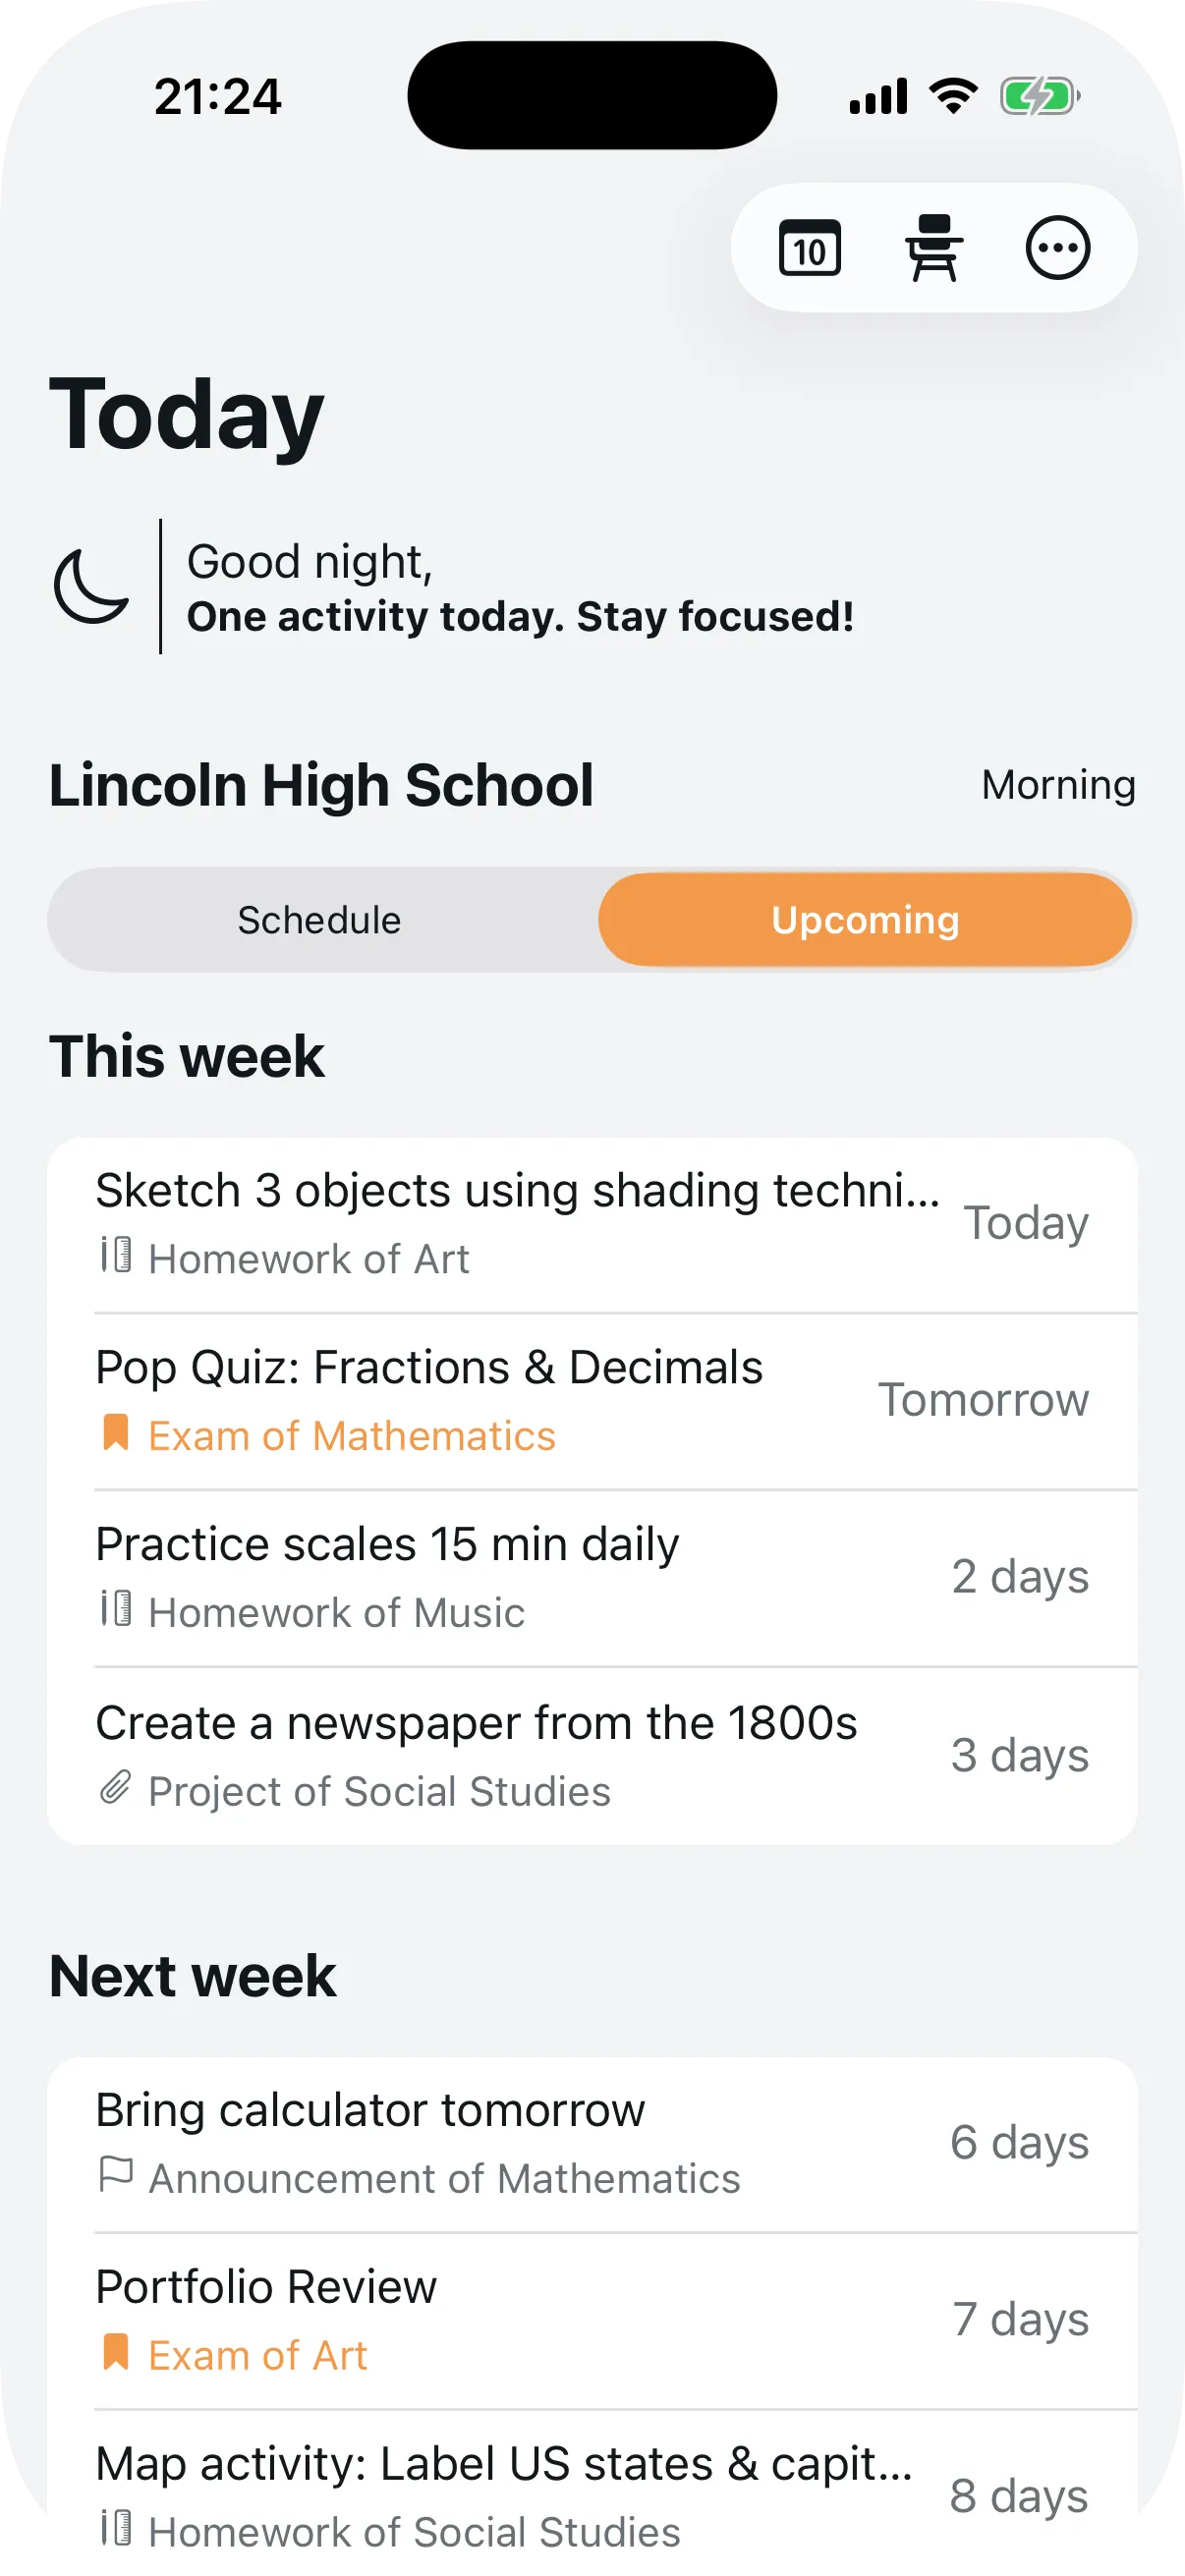
Switching to the "Upcoming" tab, you see all future appointments organized by week: "This week", "Next week", and so on. Each item shows how many days remain — Today, Tomorrow, 2 days, 3 days.

How collaboration works
The most useful part of the agenda for students is real-time collaboration. Here's how it works: when any student in your class schedules an exam, all other students in the same class and period see it automatically.
No need to forward in the group chat. No need to write it down in a notebook. The appointment appears in everyone's schedule at the same time and day.
Each appointment belongs to one of four categories:
| Category | What it is | Example |
|---|---|---|
| Exams | Tests and quizzes | Pop Quiz: Fractions & Decimals |
| Homework | Exercises and assignments | Sketch 3 objects using shading techniques |
| Projects | Group or individual work | Create a newspaper from the 1800s |
| Notices | General announcements | Bring calculator tomorrow |
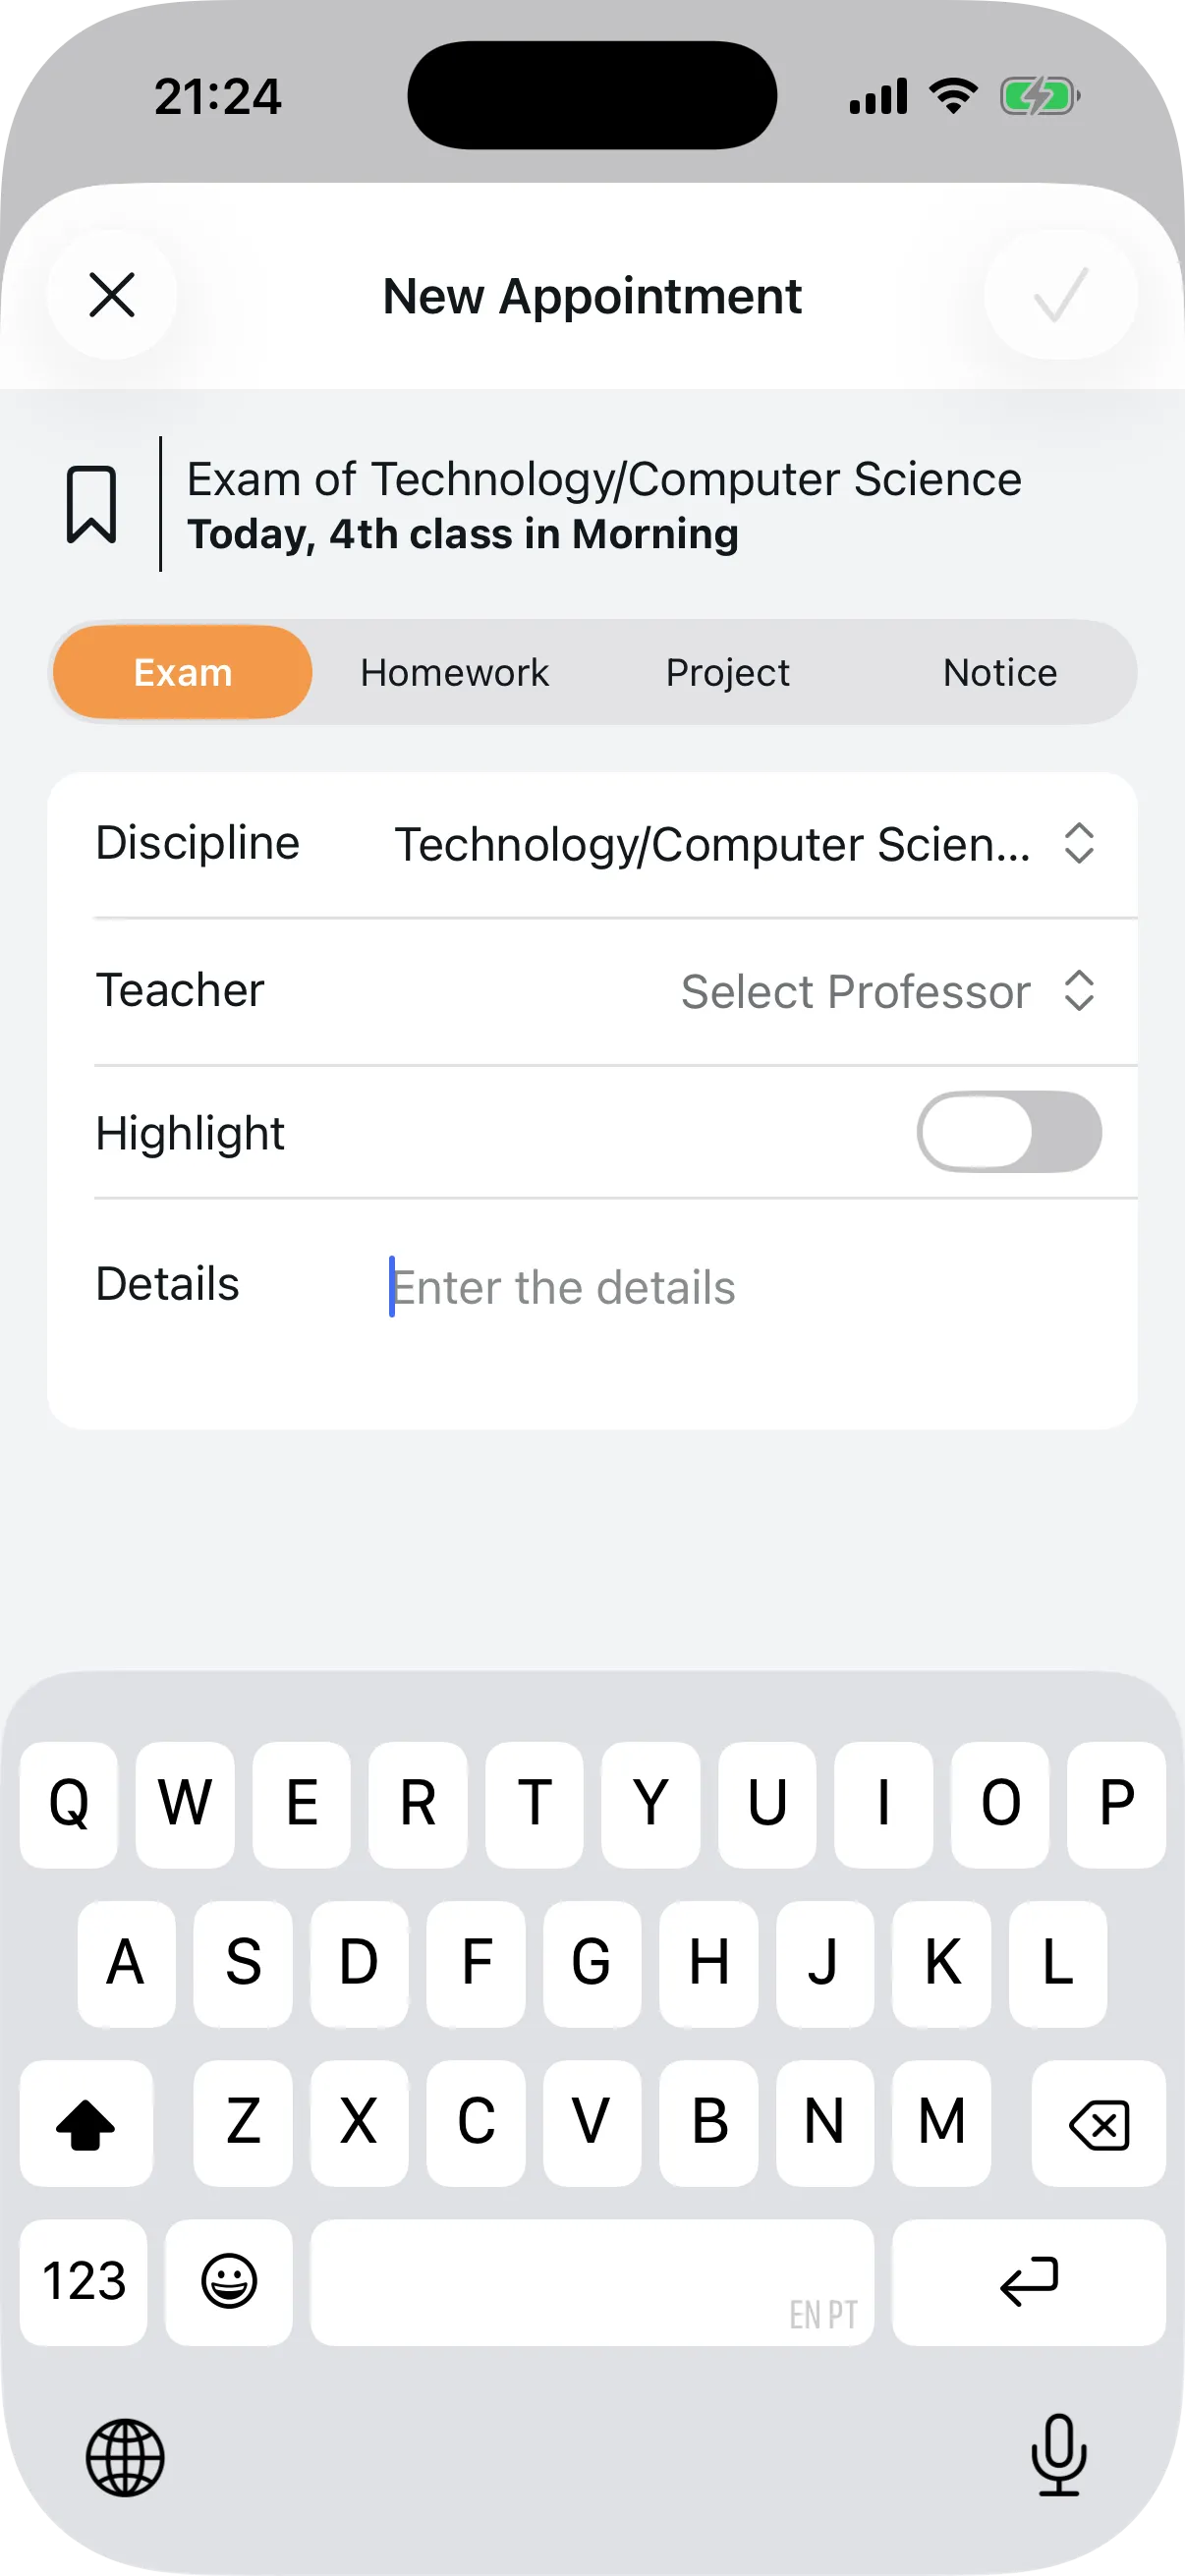
To create an appointment, tap any time slot in the schedule. Choose the category (Exam, Homework, Project, or Notice), select the subject and teacher, write the details, and save. If it's urgent, toggle on "Highlight" — the item gets visual emphasis in everyone's schedule.
The appointment appears for the entire class at the same time and day.
Invite classmates and share
In the student panel, tap "Invite classmates" to open the school's QR Code and identifier code. Share it via WhatsApp or show it during recess.
You can also share a specific appointment as an image. When viewing an appointment, tap "Share" — the app generates a visual card with title, subject, time, and category, ready to send with any app.
Summary
To join the school agenda:
- Open Agenda1 and select the Student profile
- Tap "Join a class"
- Scan the QR Code or type the school code
- Select your class and period
- Done — your class schedule and the class appointments appear right away
Download Agenda1 for free at agenda1.app and ask a classmate for the school code.
Agenda1 now also supports login with Google, Apple, and passkeys. To learn about the new methods, see new login methods in Agenda1.